May 2026
Introduction
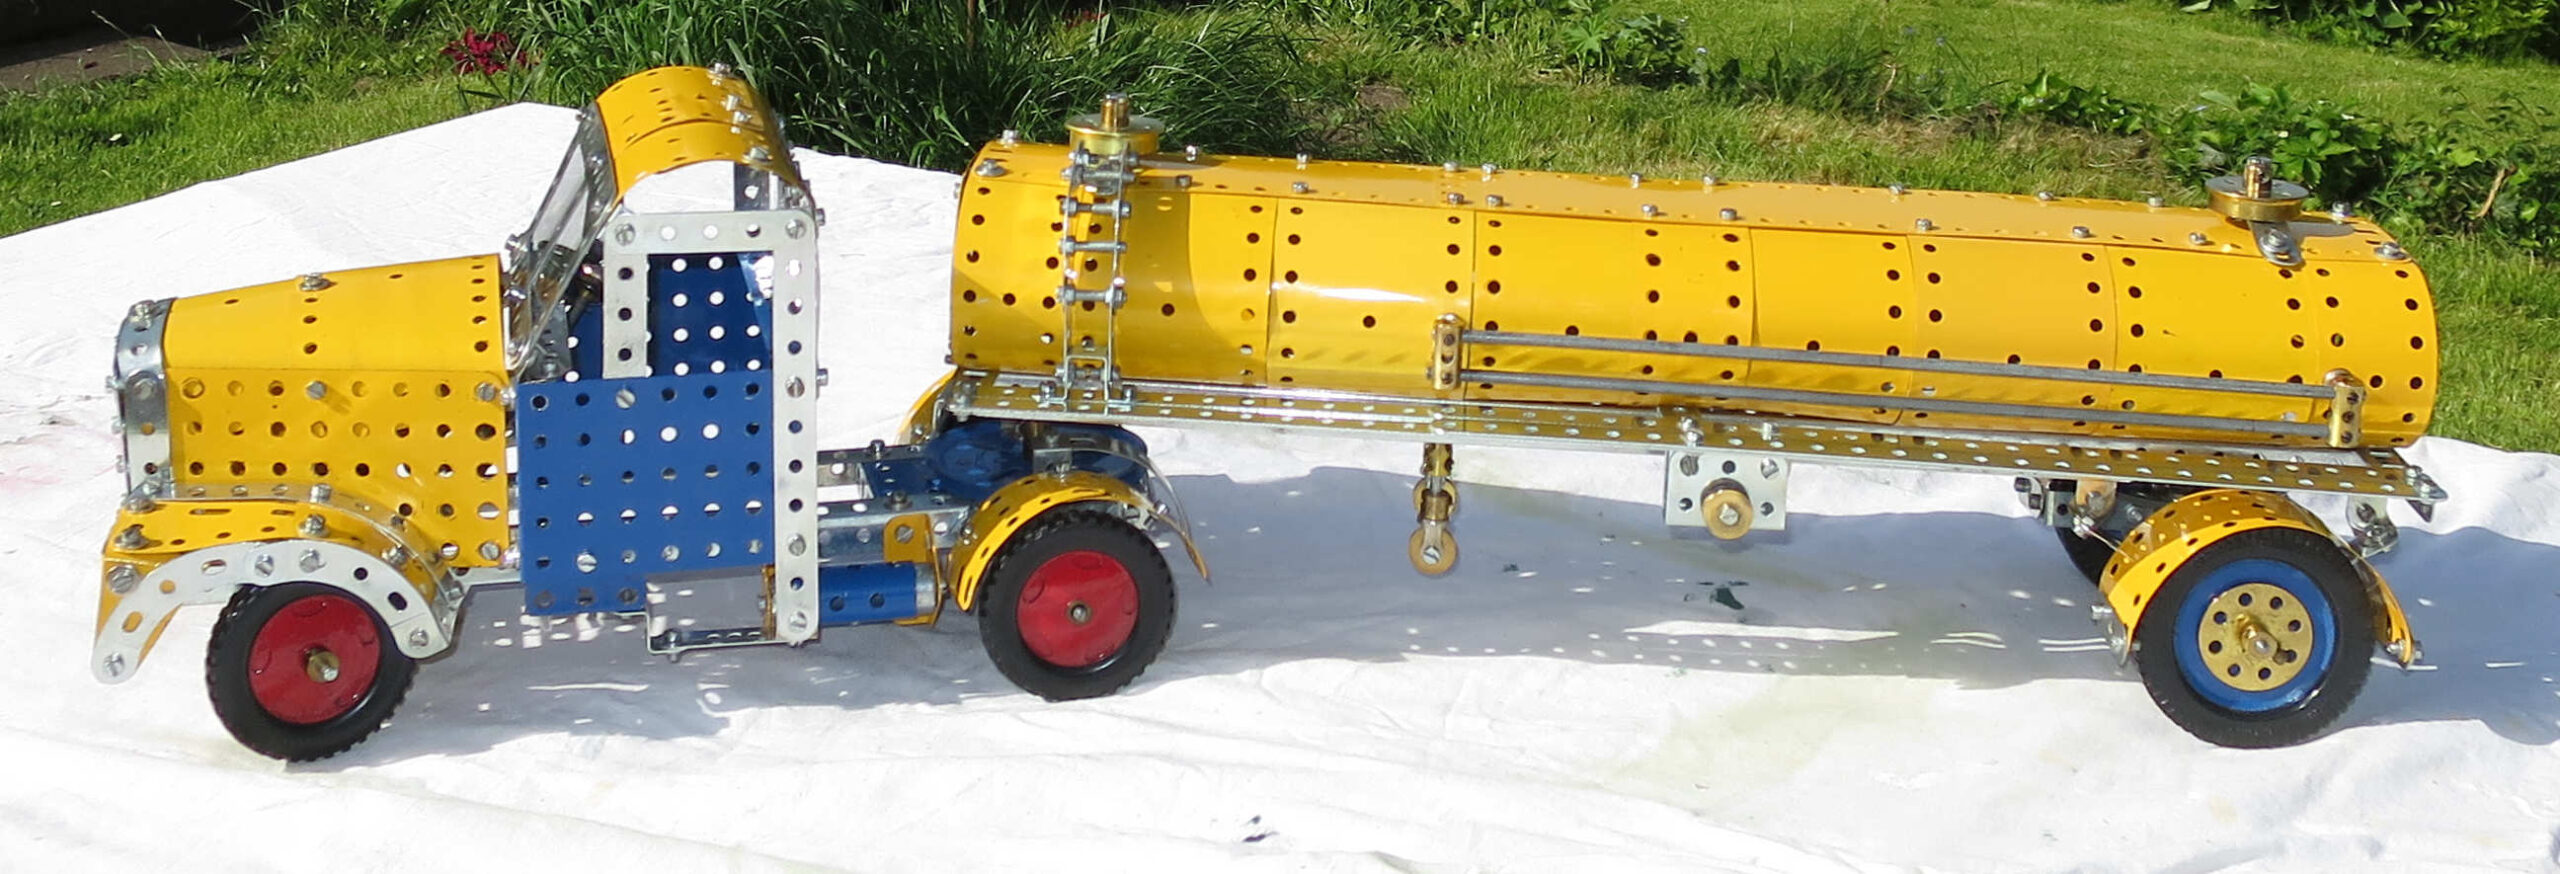
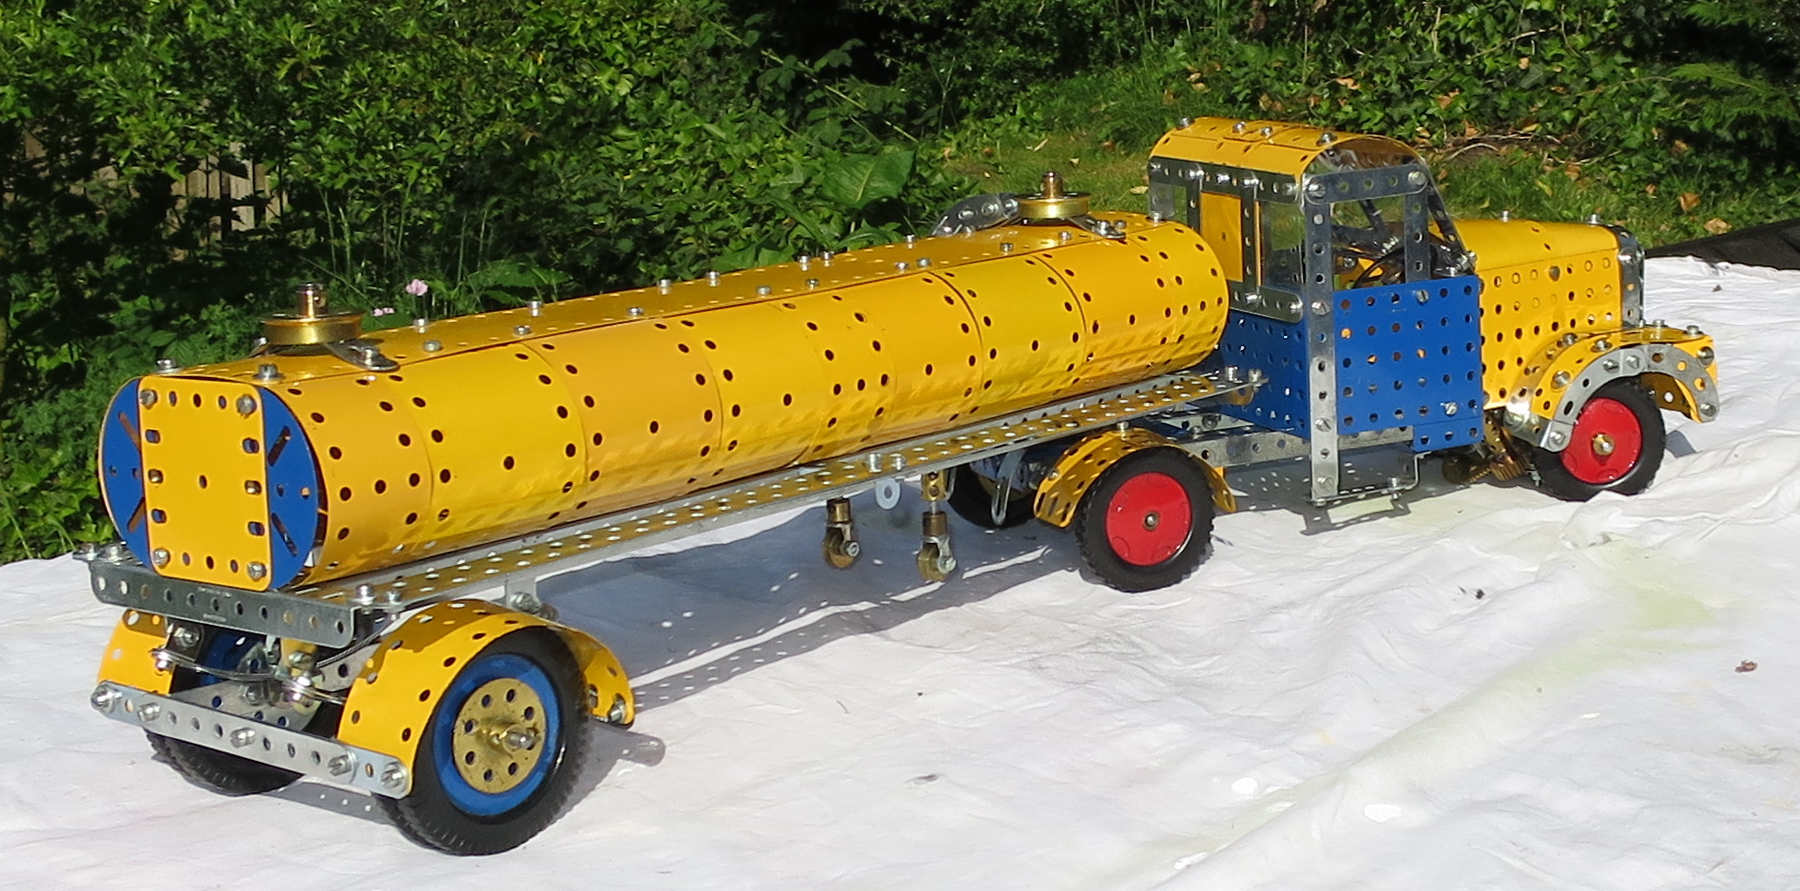
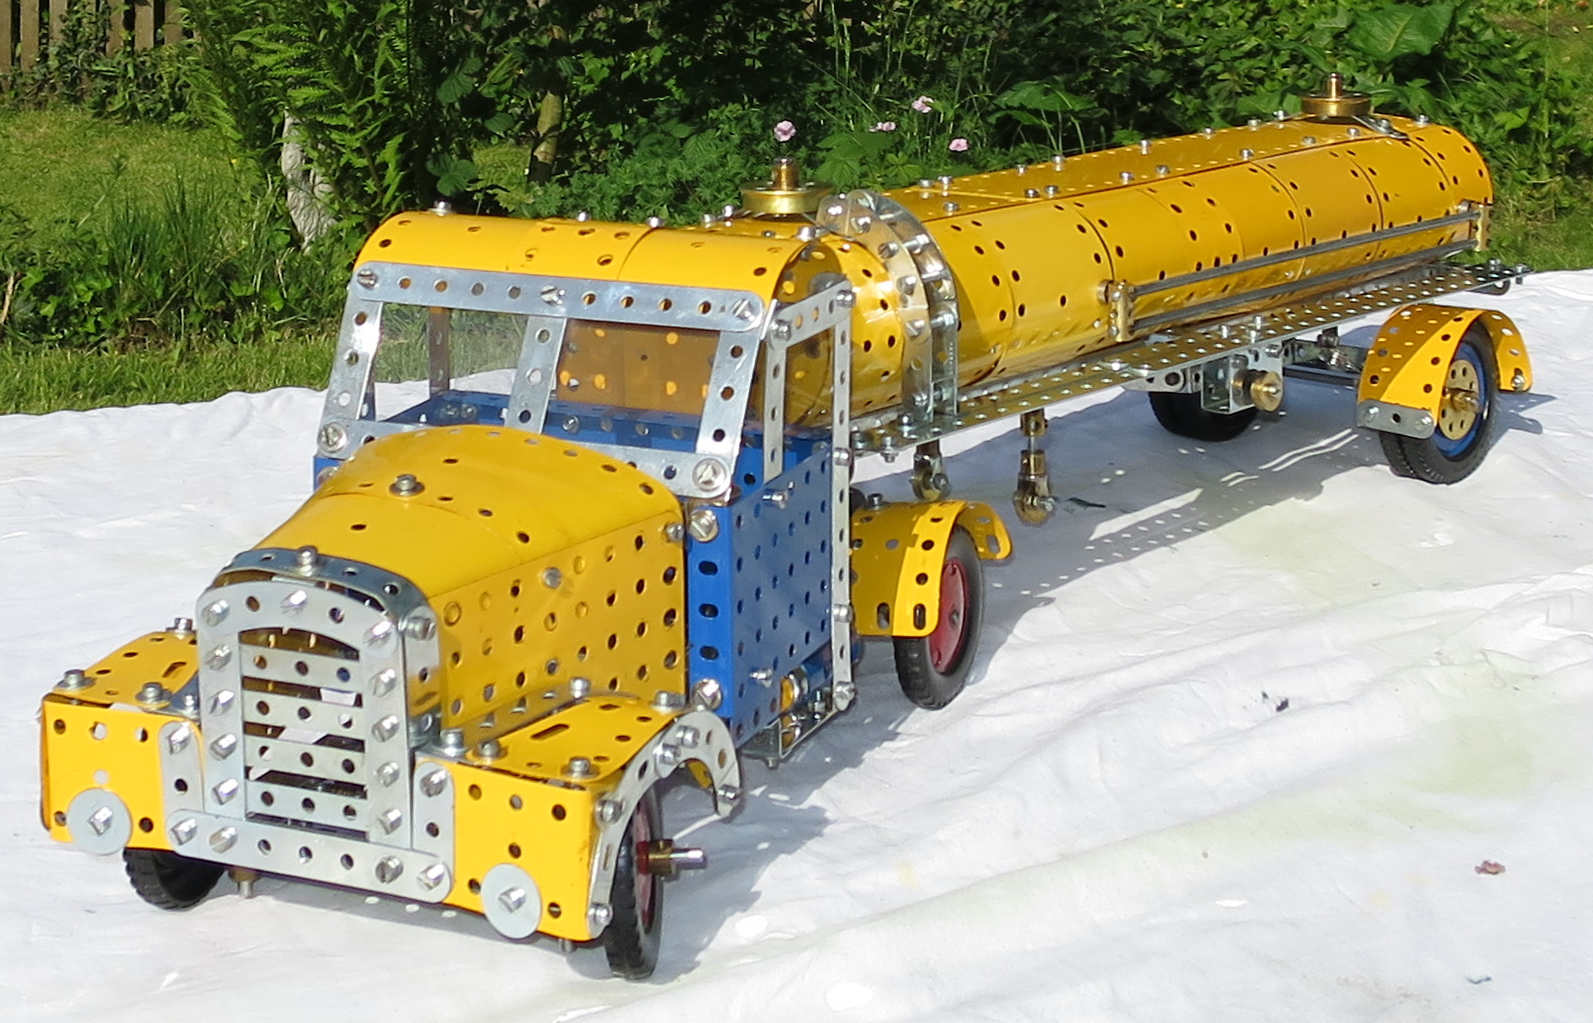
For a break from building the Super Models I thought I’d build something with my 1970s Outfit 9. Although I’ve had this outfit since the 1970s, I’ve never built this particular model – number 9.9 in the 1973 Outfit 9 Book of Models. I think I’d been put off by the amount of strip and plate bending required. Having built a few Super Models, I’m now used to bending my Meccano, so this one no longer held any fears for me. I’ve got a strip roller and I’m going to use it.
For a 1970s Outfit 9 model, I think it looks pretty good. It’s not motorised, but since there’s no floor to the cab the driver can run along the ground Fred Flintstone-style. It’s got steering (but see below), and the trailer’s even got leaf springs, although they don’t actually spring the trailer – they’re just for show.
Build issues
Firstly, the parts list is seriously incomplete. As long as you’ve got a 1970s Outfit 9 you’ll be OK, but don’t rely on the parts list for this model. I won’t try to list the omissions – there are too many.
Secondly, the steering linkage is really pretty poor. I built it as per the Book of Models, then had to give it some serious improvement to get it to work properly. I replaced the bent 3″ strip (part 4 on diagram) with a 2″ rod and two extra rod and strip connectors (part 212). I ditched the screwed rod, and mounted the gear wheel 27a on a short rod journalled in a 2 1/2″ double angle strip and a double bracket. The double angle strip I bolted to two 1″ triangular plates (part 77), which I bolted to the main girders. This left the gear wheel approximately in the same place as it had been, and far more stable. It didn’t quite mesh with the smaller gear wheel now, but I replaced the 1/2″ gear with a 3/4″ gear, spaced it out from the girder with a couple of washers, and the fit was good. Now the steering was solid enough, apart from the steering column not being journalled in anything at the top. A long bolt through the dashboard and a collar onto an obtuse angle bracket fixed this. Incidentally the steering column is missing from the parts list, requires a 4″ rod according the diagram, and now needed a 4 1/2″ rod after my redesign. (What the anchoring spring and wheel disc were doing in the original design is anyone’s guess. And they weren’t in the parts list either.)
Thirdly, don’t use four obtuse angle brackets to attach the bonnet to the cab, as shown in the diagram. The angle’s completely wrong. You just need to open up four ordinary angle brackets very slightly. This was not fun to go back and fix.
Fourthly, the trailer mudguard assembly wouldn’t fit over the 2 1/2″ by 1″ double angle strips – the mudguards were forced to splay apart. I tried getting the mudguards further apart but there’s little give there. What did work was remounting the angle brackets fixing the springs to the double angle strips so they were inside the strips. It gained about 1/10″ but that’s all it needed.
Fifthly, and finally, getting the trailer’s axle to run freely took quite a bit of work. There is a design problem here. A wheel disc is used to journal the axle, and also to secure the mudguard/axle assembly in place. These two fixings are 1/2″ apart on the wheel disc. The corresponding fixing points on the spring assembly are more than 1/2″ apart – a double bracket, three thicknesses of strip in the spring, and an angle bracket. Even with the long hole on the angle bracket. So the axle won’t run freely. I tried a few possible fixes, and ended up replacing the two double brackets with pairs of angle brackets, journalling the axle in the long holes of the angle brackets. This worked, as long as I didn’t overtighten up the bolts fixing the wheel disc to the angle brackets above the springs. Tightening these bolts twisted something, locking the axle up again. In the end I fixed this by adding washer shims between the wheel discs and the angle brackets.
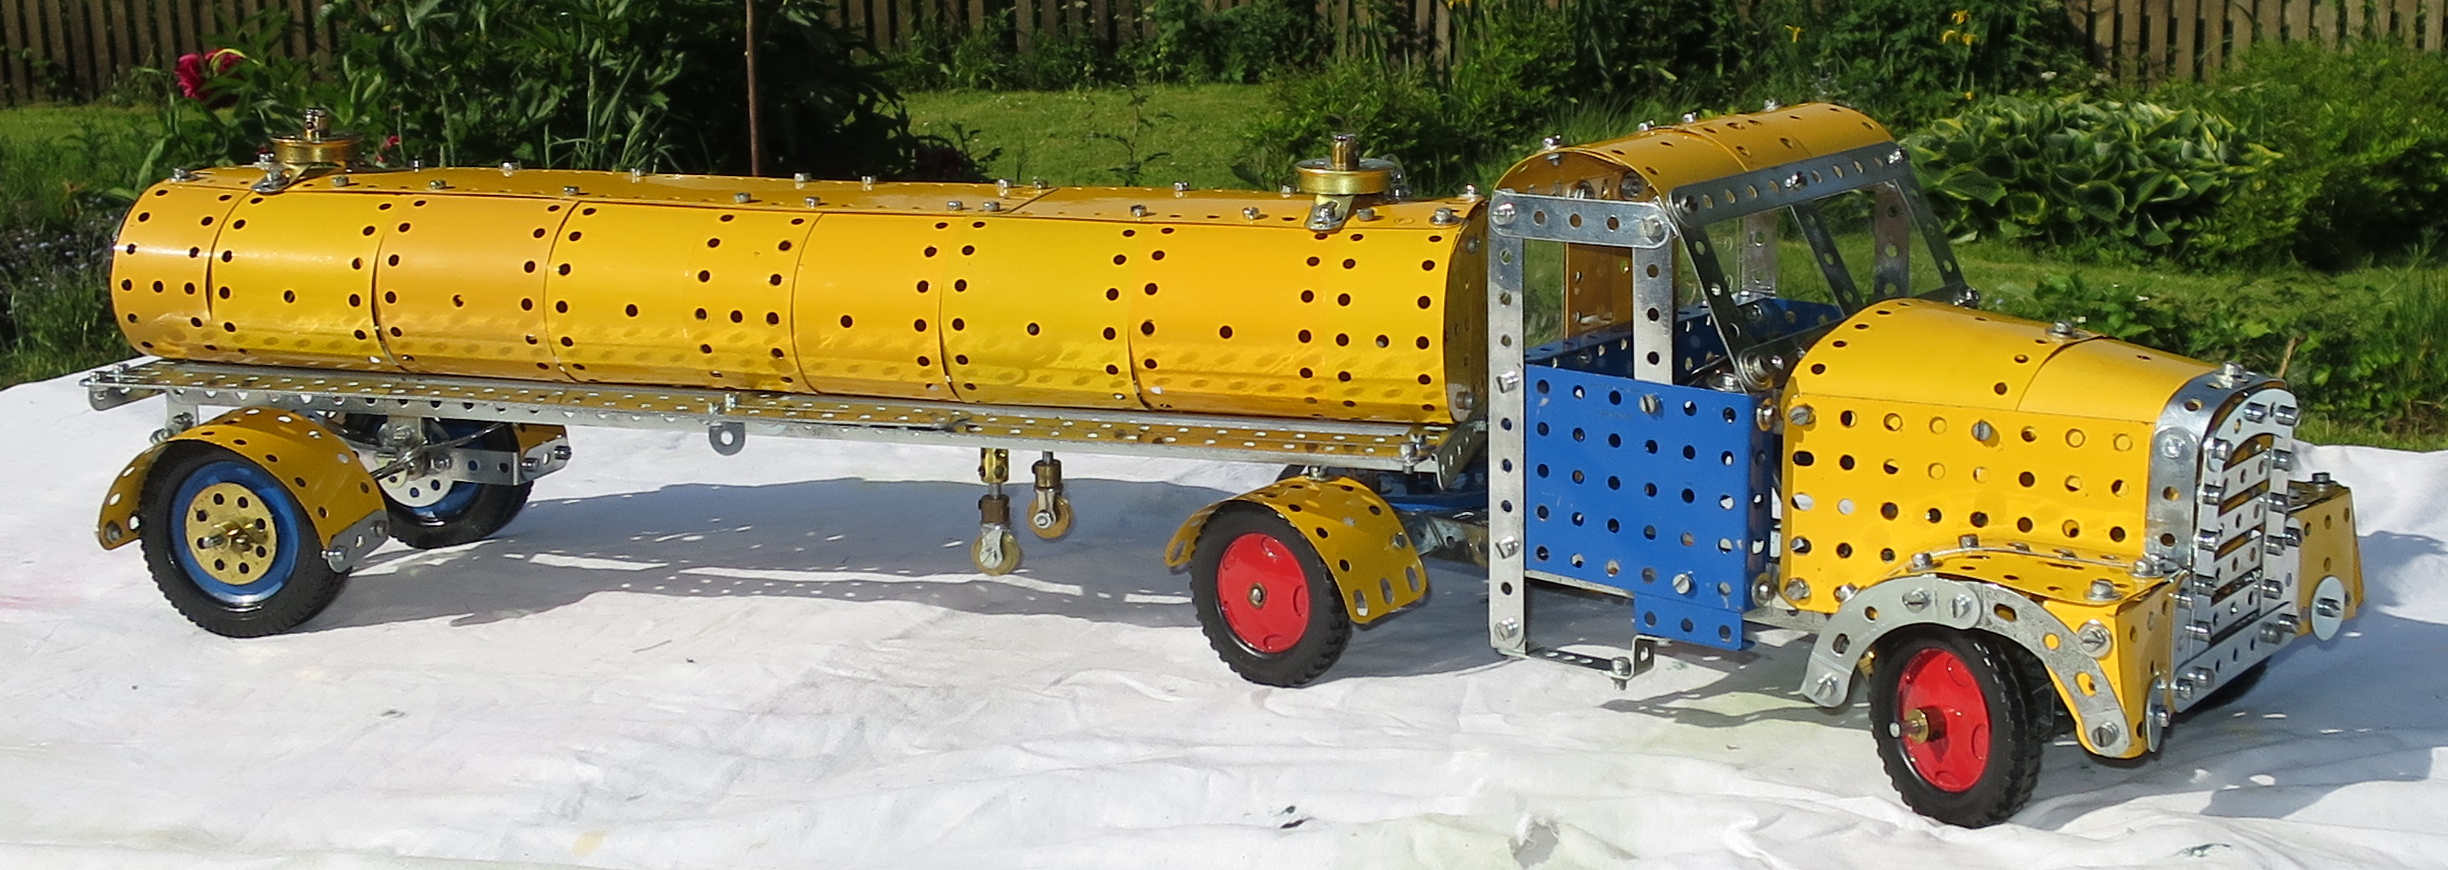
Two more photos: