Introduction
Draft version without photos, August 2026
I want to build models that look good, without spending a fortune on parts in mint condition. Also, I’d rather be using original Meccano parts where practical, although I’m not too dogmatic about that, and I’ve got quite a few reproduction parts.
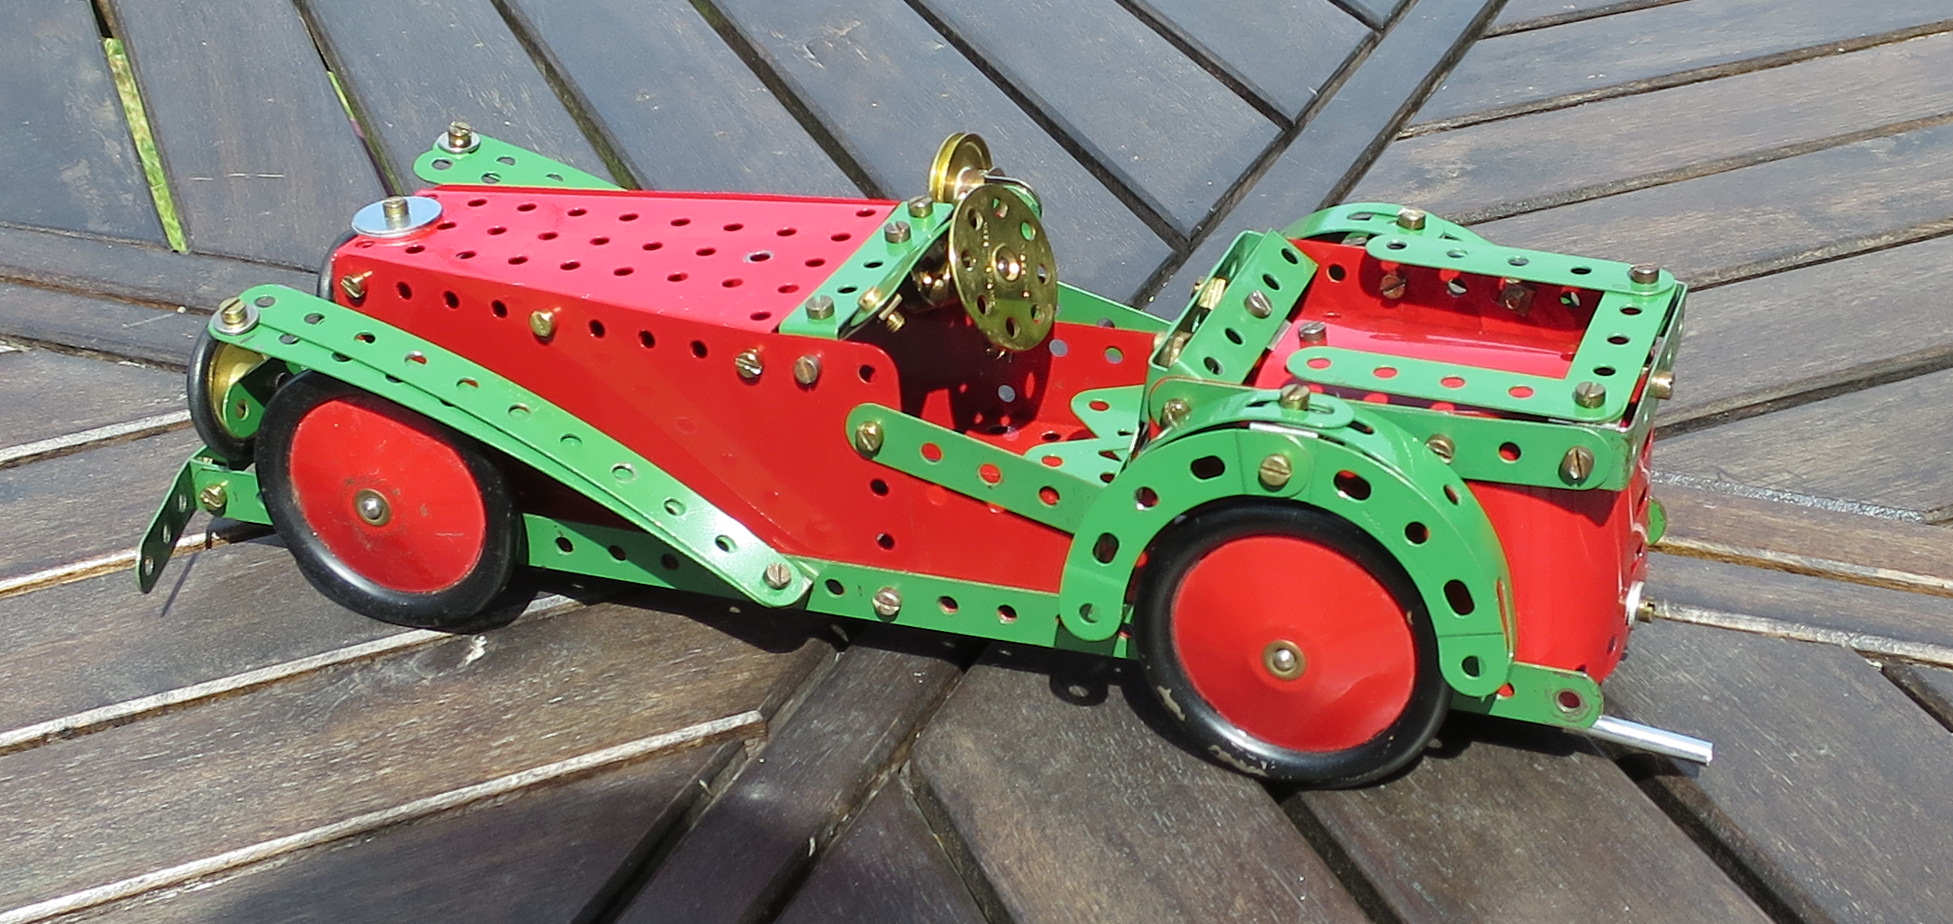
In my view, a model looks at its best if its parts all match the same era of Meccano, particularly if the model is a recreation of a model to a Meccano design. My starting point was a 1950 or 1951 Outfit 10, so my main focus is on building models that use the colour scheme from that time: early post-war red and green. Most of that No. 10 Outfit is still in pretty good condition, but, since I’m aiming to build the entire set of 1920s/30s Super Models, I’ve had to buy a lot of additional parts, and I wanted them in early post-war red and green too. By buying bargain lots in dodgy condition, from Meccano dealers and an auction house, I’ve saved a lot of money, but I’ve ended up with a lot of parts that I’d not want to use in my models, as the paint’s in poor condition or the wrong colour. And some of them are pretty rusty too. So I decided to have a go at repainting some of them. So far it’s gone pretty well, so I thought I’d document how I’ve been doing it, in case it would be of use to anyone else. I’m not claiming it’s the best way to go, but it’s worked for me.
I’ve never tried to re-plate with either zinc or nickel so can’t offer any advice on that.
Where I started
I found a great article written in 2008 by Allen Berman on the South East London Meccano Club website. I didn’t follow it entirely, particularly once it got to the painting, but it really told me most of what I needed to know. I won’t repeat what’s in the article, so you’ll need to refer to it if you want the full picture of how I’ve gone about my Meccano refurb. In the sections below I’ve used the same stage names and numbers as in the original article.
Stage 1 – Sorting
Not much to say on this one. I keep the parts I want red separate from the parts I want green of course. I’ve not yet repainted anything the wrong way round…
Most parts are already painted of course, but some are zinc-plated and the odd part is nickel-plated. And some parts have paint over the top of old plating. All the paint has to come off, except when I need to repaint something that’s in good condition but the wrong colour, so on to the next stage…
Stage 2 – Removing Paint
Allen Berman used caustic soda to get his paint off. I use Nitromors, and his approach may work better, in that it sounds like it may be less hard work. Caustic soda is nasty stuff though, and I’m sticking with Nitromors. His recommendation to use a section of guttering to soak the parts is worth considering, but don’t assume it won’t leak at the ends.
This stage is physically tiring – for me, anyway. I put the Nitromors on with a small expendable paintbrush, and remove it with grade 1 steel wire wool. I wear heavy duty rubber gloves, which makes it hard to pick up small parts. When I’ve finished I wash the parts thoroughly in the kitchen sink and get them properly dry immediately before they start rusting.
Stage 3 – Removing Old Zinc-plate
I haven’t tried using Spirits of Salts for this. I have tried a few days in vinegar, which works sometimes, but I suspect some of the parts I was trying to strip were nickel-plated. Both sorts of plating seem to be lifted to some extent by phosphoric acid – see the next section.
Stage 4 – Removing Rust
I sand any nastier bits of rust before soaking, using very fine wet and dry sandpaper – 600 grade. I use Clarke International Rust Remover from Machine Mart, as recommended by Allen Berman. It’s phosphoric acid and works well. You’ll need a plastic box to soak your Meccano in – one you can pour the rust remover out of for re-use. A jug and a funnel come in handy here. I try to keep the stuff off my hands, but it’s not unduly caustic, in my experience. It can cause serious stains if spilled though – I use it in the garage and get it back in the bottles in the garden. It’s even stained the tarmac.
After this I wash and dry everything again, then paint quickly before the rust starts again.
By this time you should know which parts are plated, and whether the plating is flaking off or firmly attached. I get busy with the wire wool and fine sandpaper again, to try to remove anything loose. Normal paints won’t adhere to plating properly unless it’s etched to make it rougher. See below…
Stage 5 – Metal Bashing
…is always good fun…
Stage 6 – Painting
Thia is where I diverge most from Allen Berman’s recommendations, in that I use acrylic car paints, sprayed from disposable aerosols. This paint is tough and flexible, and most of what I need is available from my local Halfords.
You need to make sure you don’t breathe in any of the paint spray and don’t paint too much of the surroundings. I paint in the garden, when it’s not raining, not windy, not too hot and not too cold. That still leaves a fair few days a year that work OK. I don’t paint in direct sunshine either. I use a proper respirator that filters out organic vapours, not a flimsy Covid-style mask. Mine’s a Swiftlon A1P2 kit with an A1 filter – they’re not very expensive and car paint shops sell them.
I put old dust sheets over a couple of recycling wheely bins and put the hanging rack across the bins, where I can get round both sides of the bins. I follow the instructions on the cans and keep the coats as thin as I can. My routine is:
- Spray once with primer, from both sides, and wait 30 minutes.
- Turn all parts upside down so you can get at the bits that were inaccessible first time.
- Spray again from both sides, and wait an hour.
- Repeat steps 1 to 3 with top coat.
- Repeat steps 1 to 3 with lacquer.
- Get everything out of the weather, e.g. in the garage, still on the rack.
- Next day, bring into the house, and leave to harden up for a couple of days before putting away. Carefully, as the paint hasn’t completely hardened yet.
- Give it a couple of weeks before building anything with the newly painted parts.
Primers
All these are at Halfords:
- Grey primer for the green parts.
- Red primer for the red parts.
- Black primer for those few black parts such as 2″ and 3″ wheels
- Etch primer for the parts that still have plating on them. How effective this is I don’t yet know, but I’m using it.
Top coats
This is where relying on Halfords breaks down a bit. There aren’t many green cars. They do have:
- Various red paints, but although they come very close to the right colour, I’ve not found a perfect match. Audi Brilliant Red isn’t bad though.
- Black Satin, which is great for wheels.
- Lacquer, which adds gloss over your top coat, and I use this over my reds and greens.
Which left me looking for a good match for Meccano post-war green, and ideally a better match for the red. Luckily there are car paint shops that will match your colour, mix the paint and fill aerosols for you. The one I found was City Auto Paints in Hereford. It was a bit of a drive for me, but I shouldn’t need to go down again now I know the colours I need as they post out. I took sample Meccano parts down to the shop, and matched them to colours on the fan decks in the shop. I took them outside to check them in natural light as well as in the artificial light in the shop. As far as I could see I’d found perfect matches. They mixed me up three cans of red and three cans of green, with a satin finish. The satin finish gives me control of the level of gloss, as I can add lacquer coats afterwards. They do gloss finish as well of course, but I’ve not tried that. The final result is as good a match as it possibly could be, as far as I’m concerned.
The downside, I suppose, is that these aerosols coast about twice that of Halfords cans, but that’s fair enough really as they are mixed to order. For the record, the colours I ended up using are:
- HMG Colorbox Red R0410, 1K Acrylic Satin (PVC17)
- HMG Colorbox Green GRE0925, 1K Acrylic Satin (PVC17)
I apply two thin coats of primer, two thin coats of top coat, and for the red and green two very thin coats of lacquer. The black I leave with a satin finish. I use hanging racks copied from Allen Berman’s. You’ll need strips of wood, staples and wire – I stripped mains rewiring cable for the wire, as copper can be bent and re-bent over and over.
Stage 7 — Hardening the Paint
After all that work I’m not going to put my Meccano in the oven – sorry Allen. I just leave it to harden for a couple of weeks before getting too violent with it, which is normal for car paints.