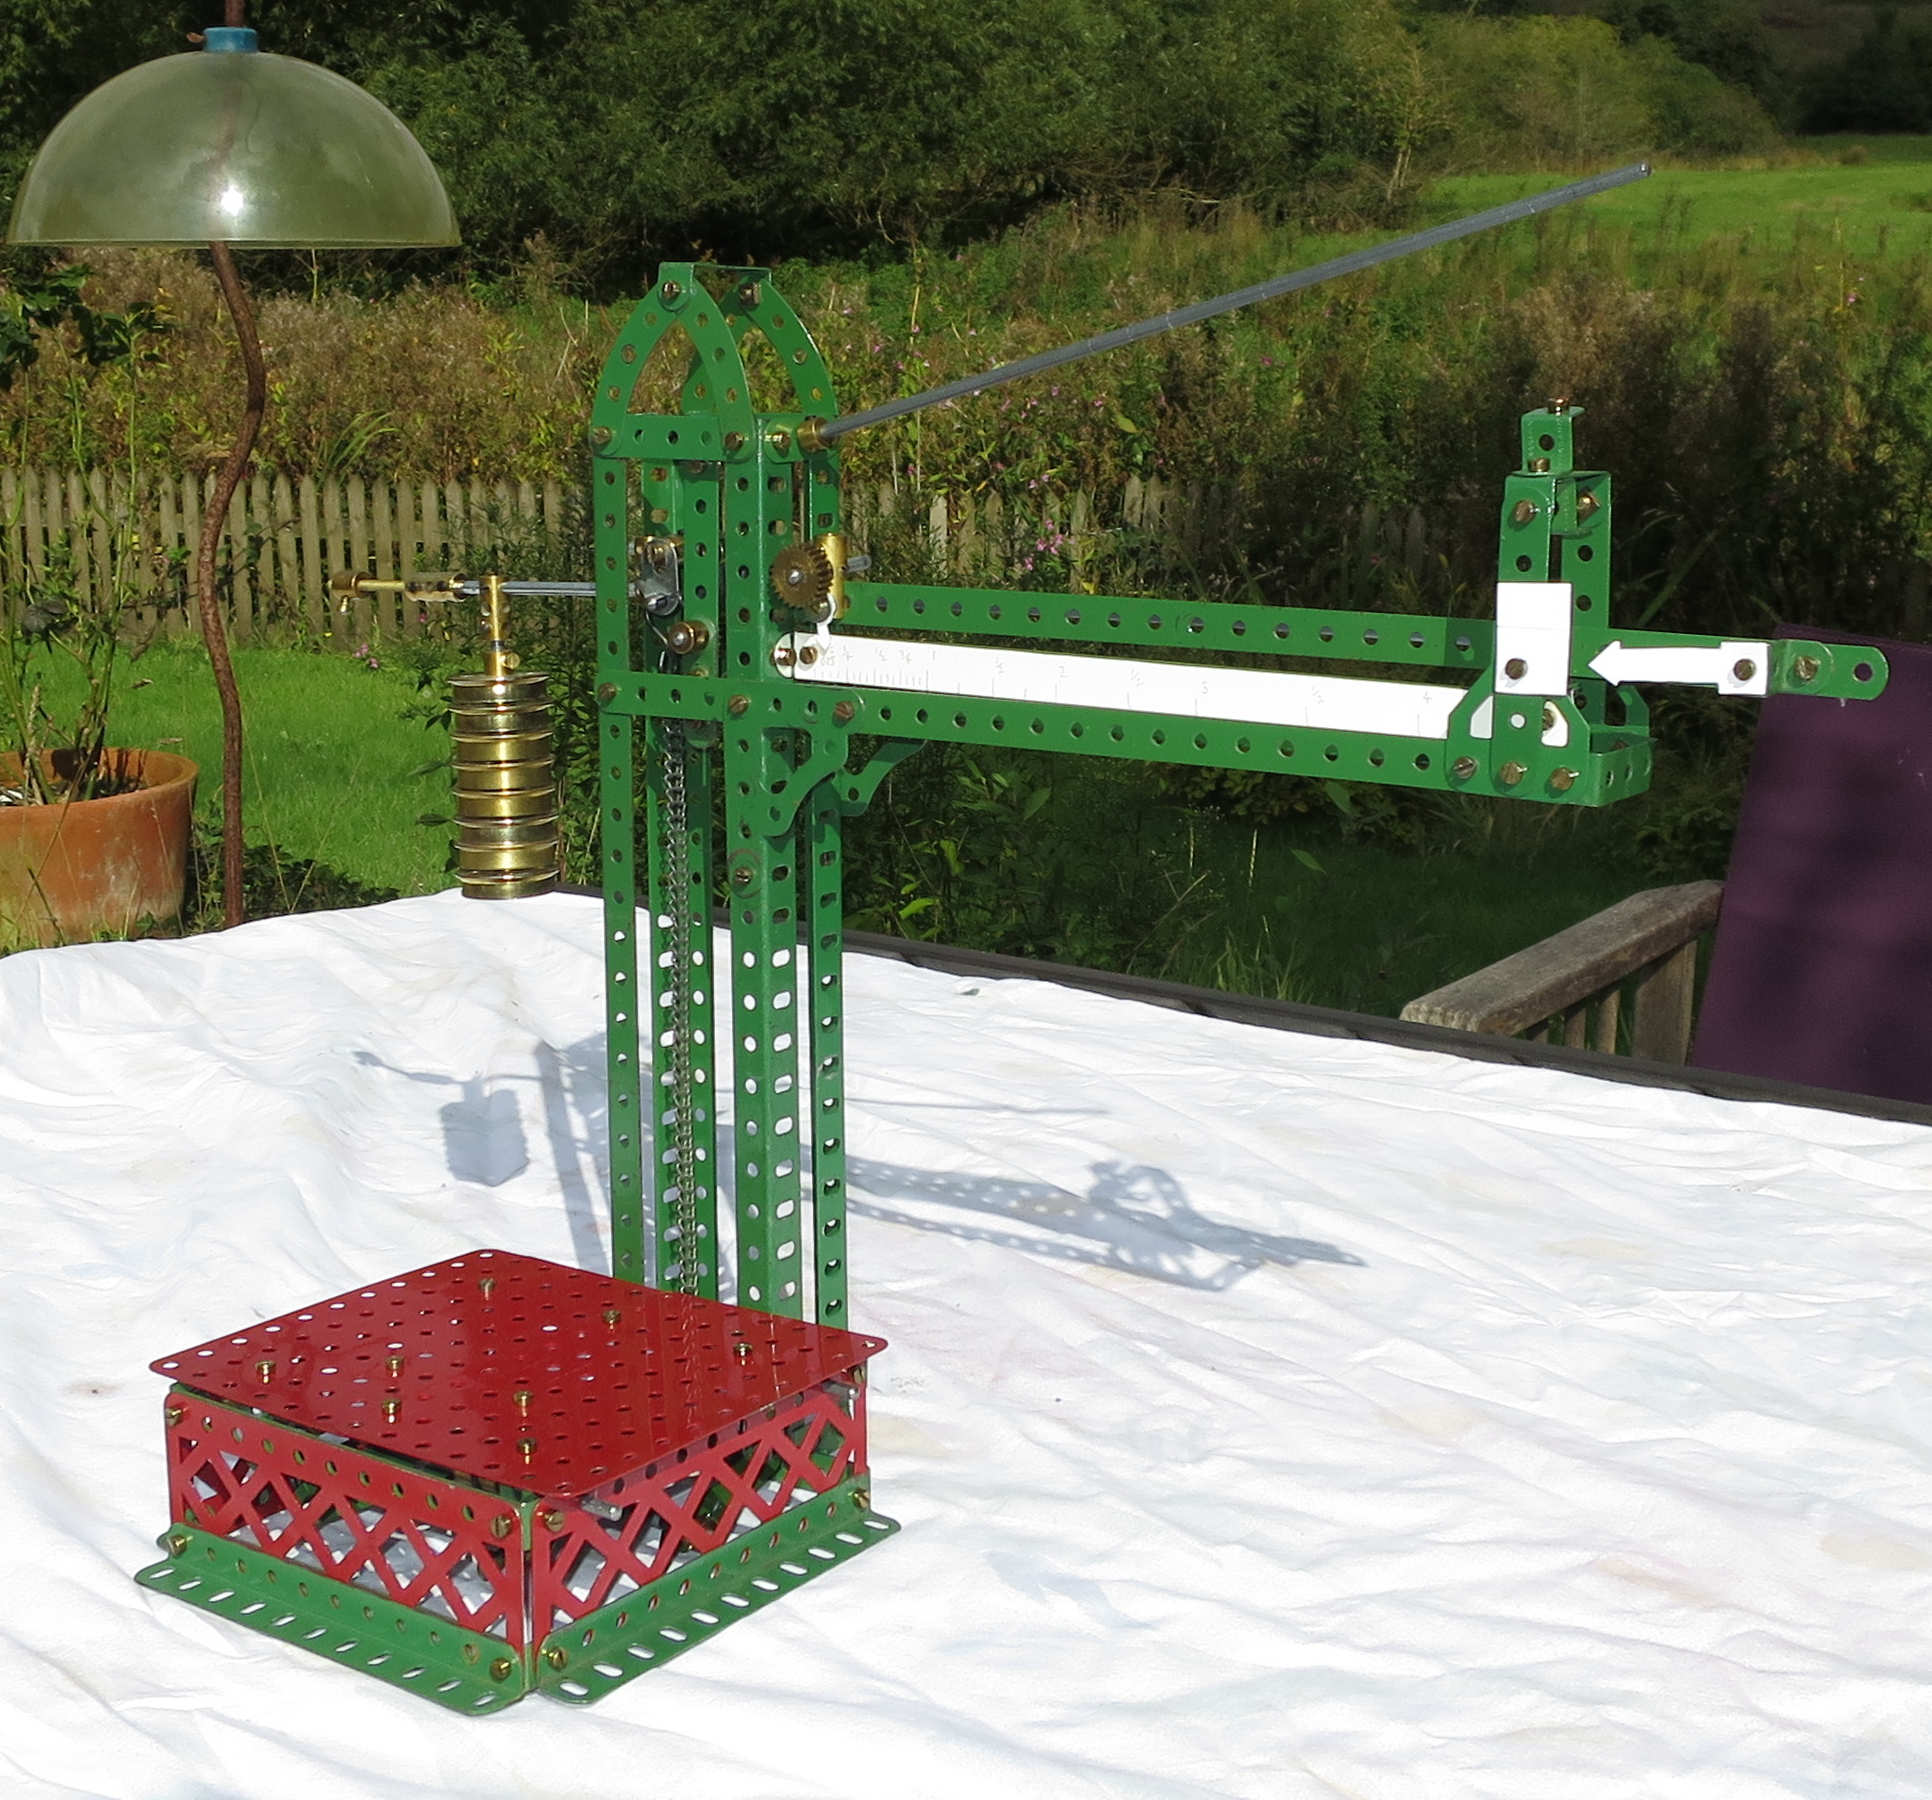
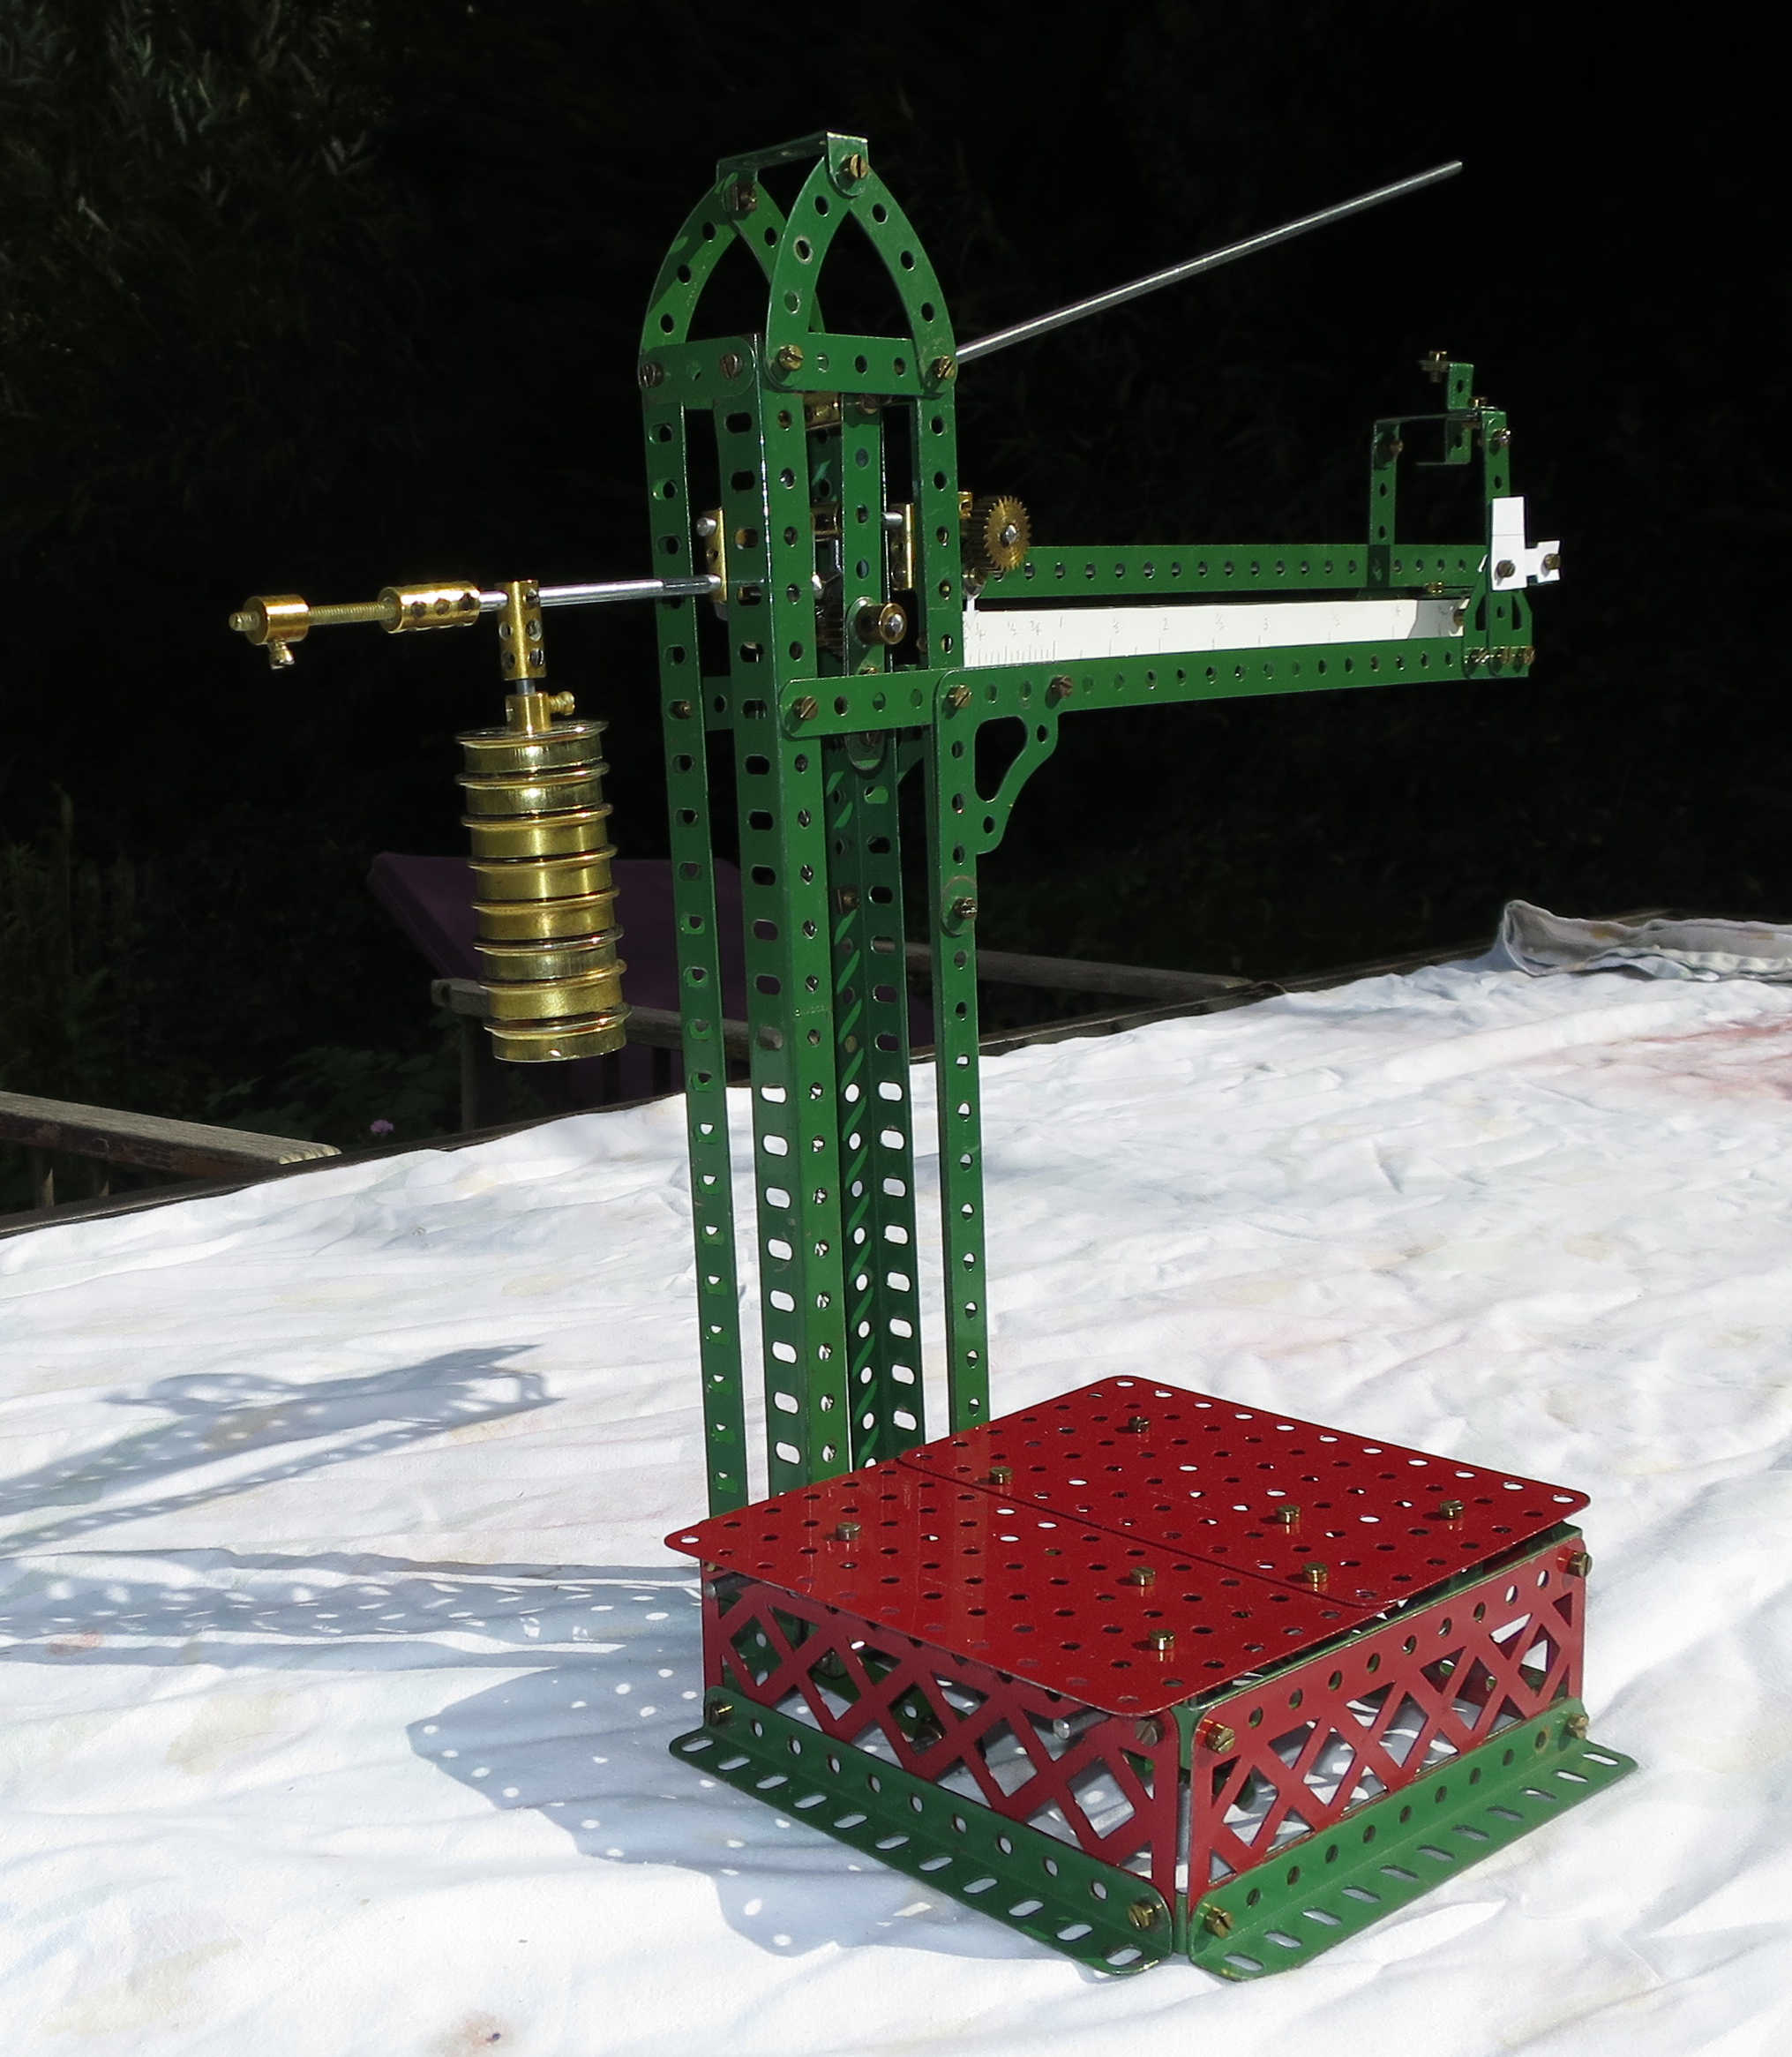
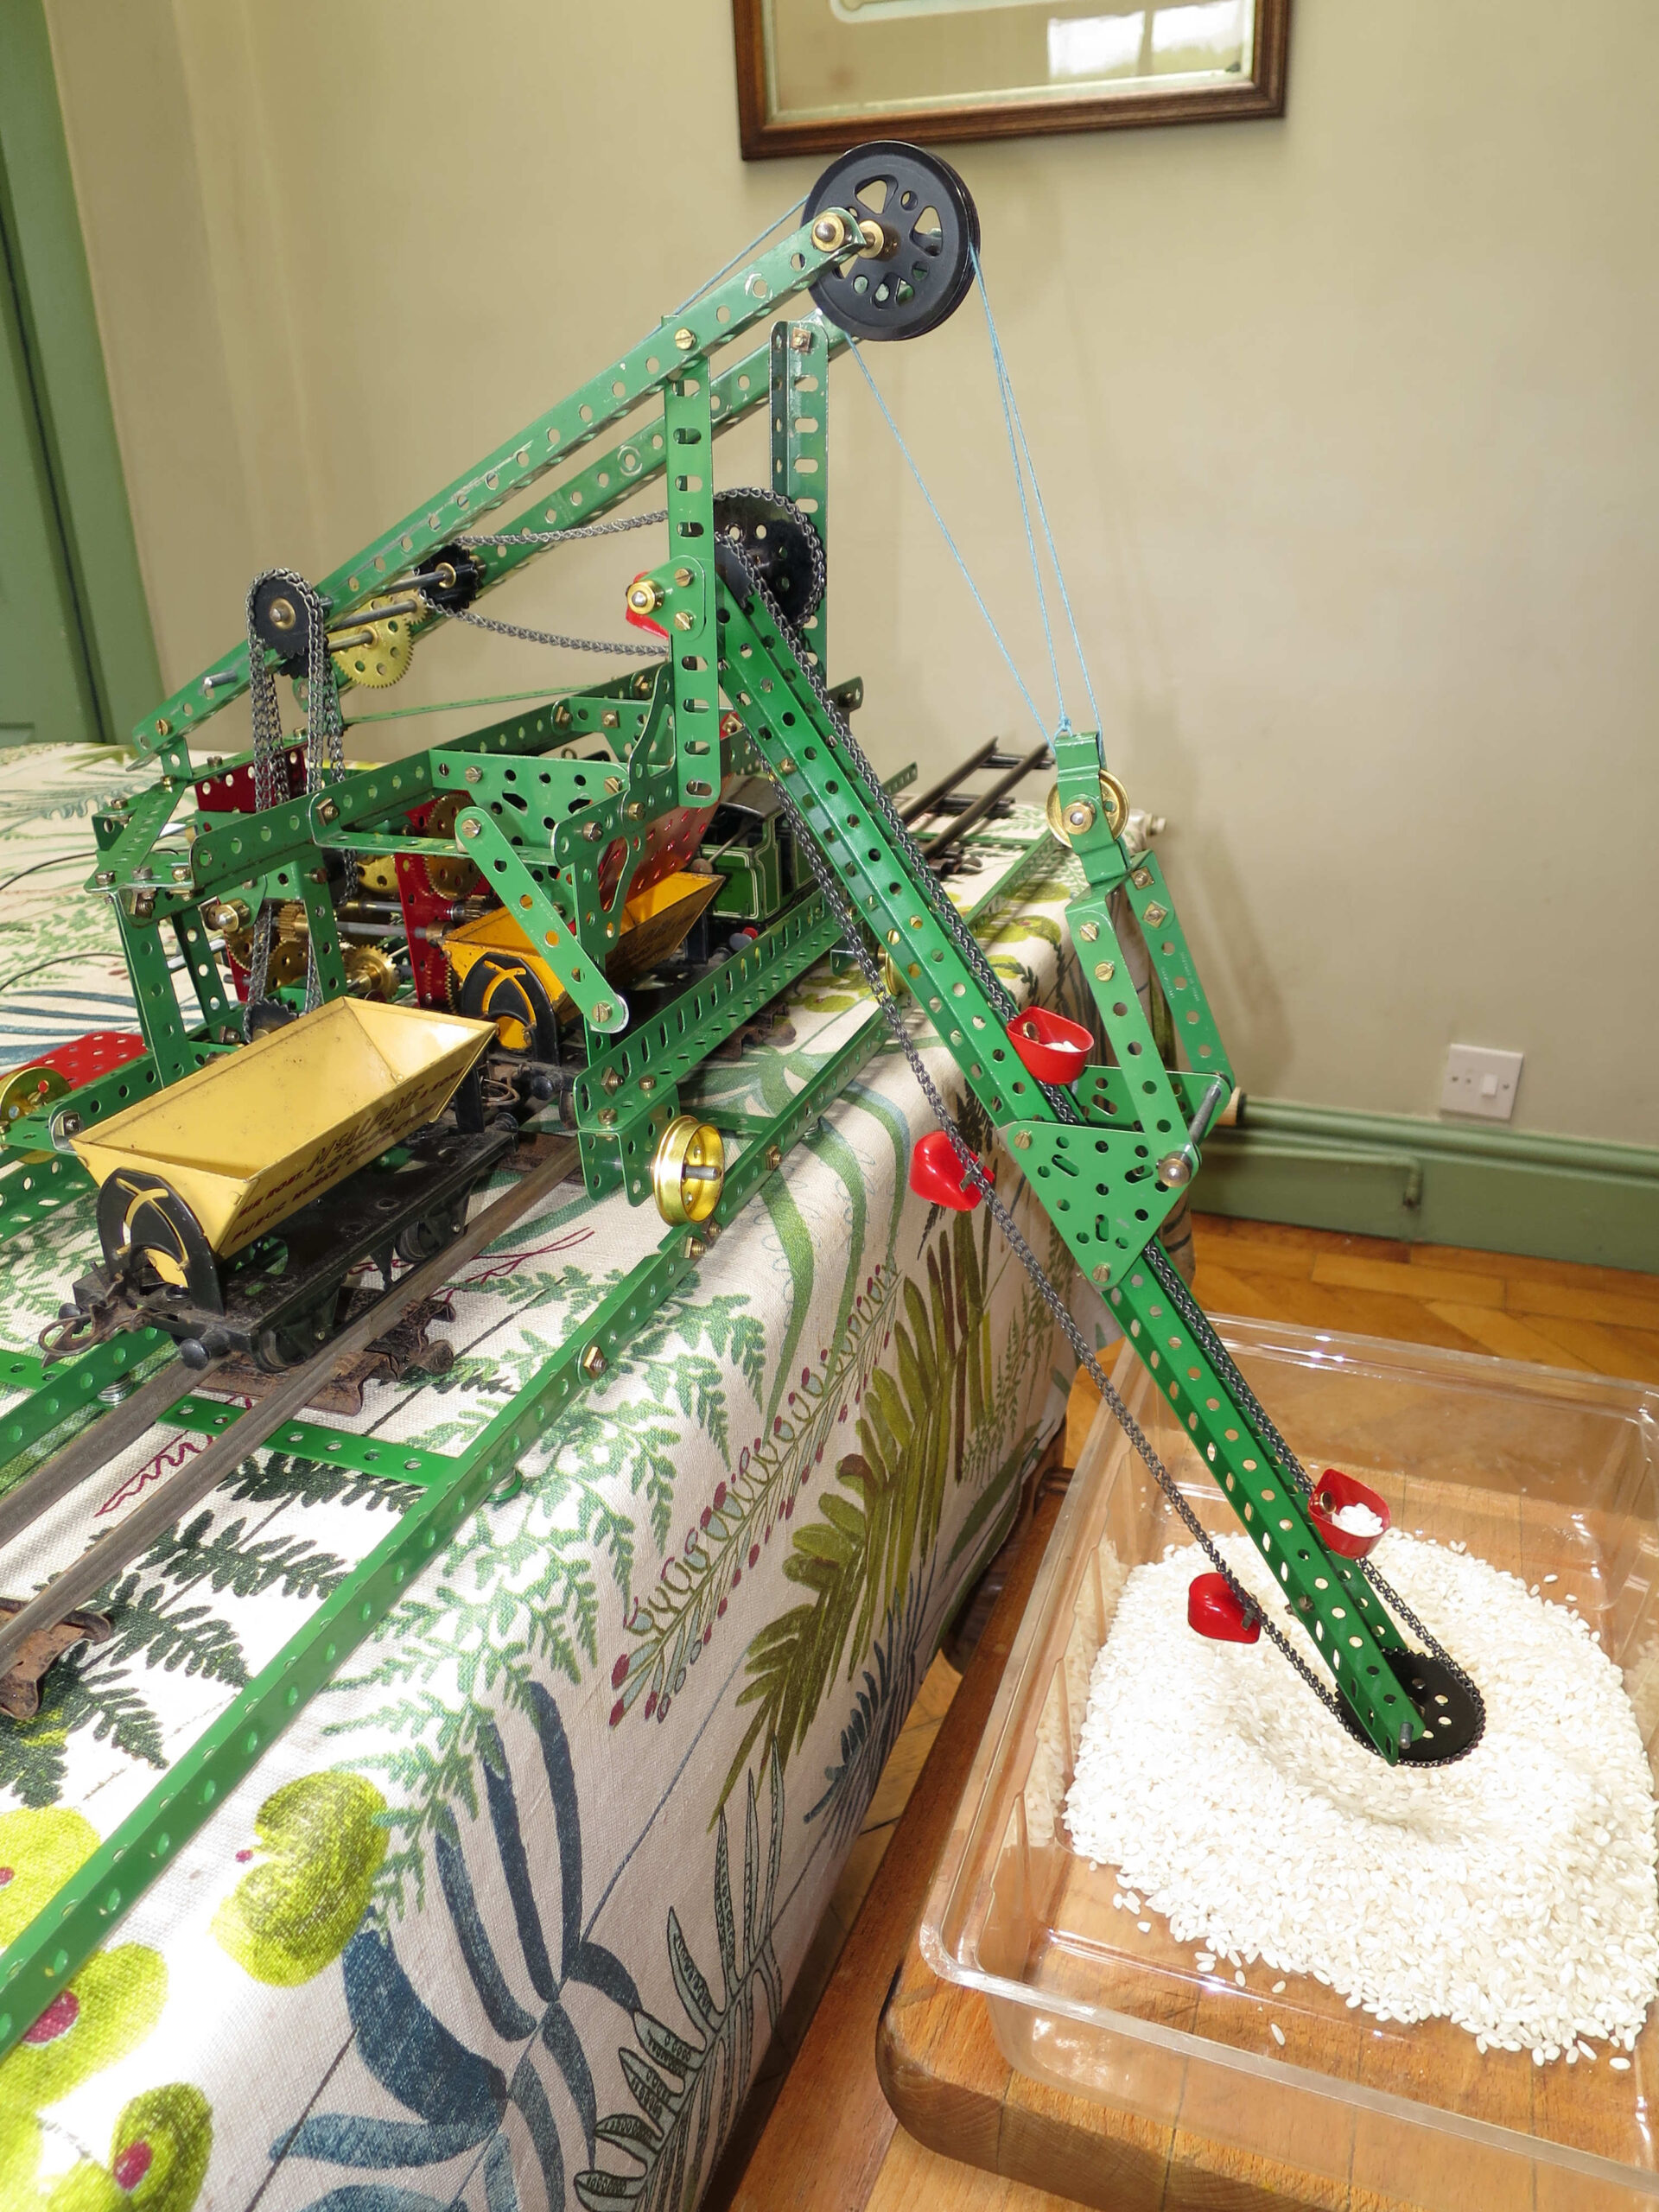
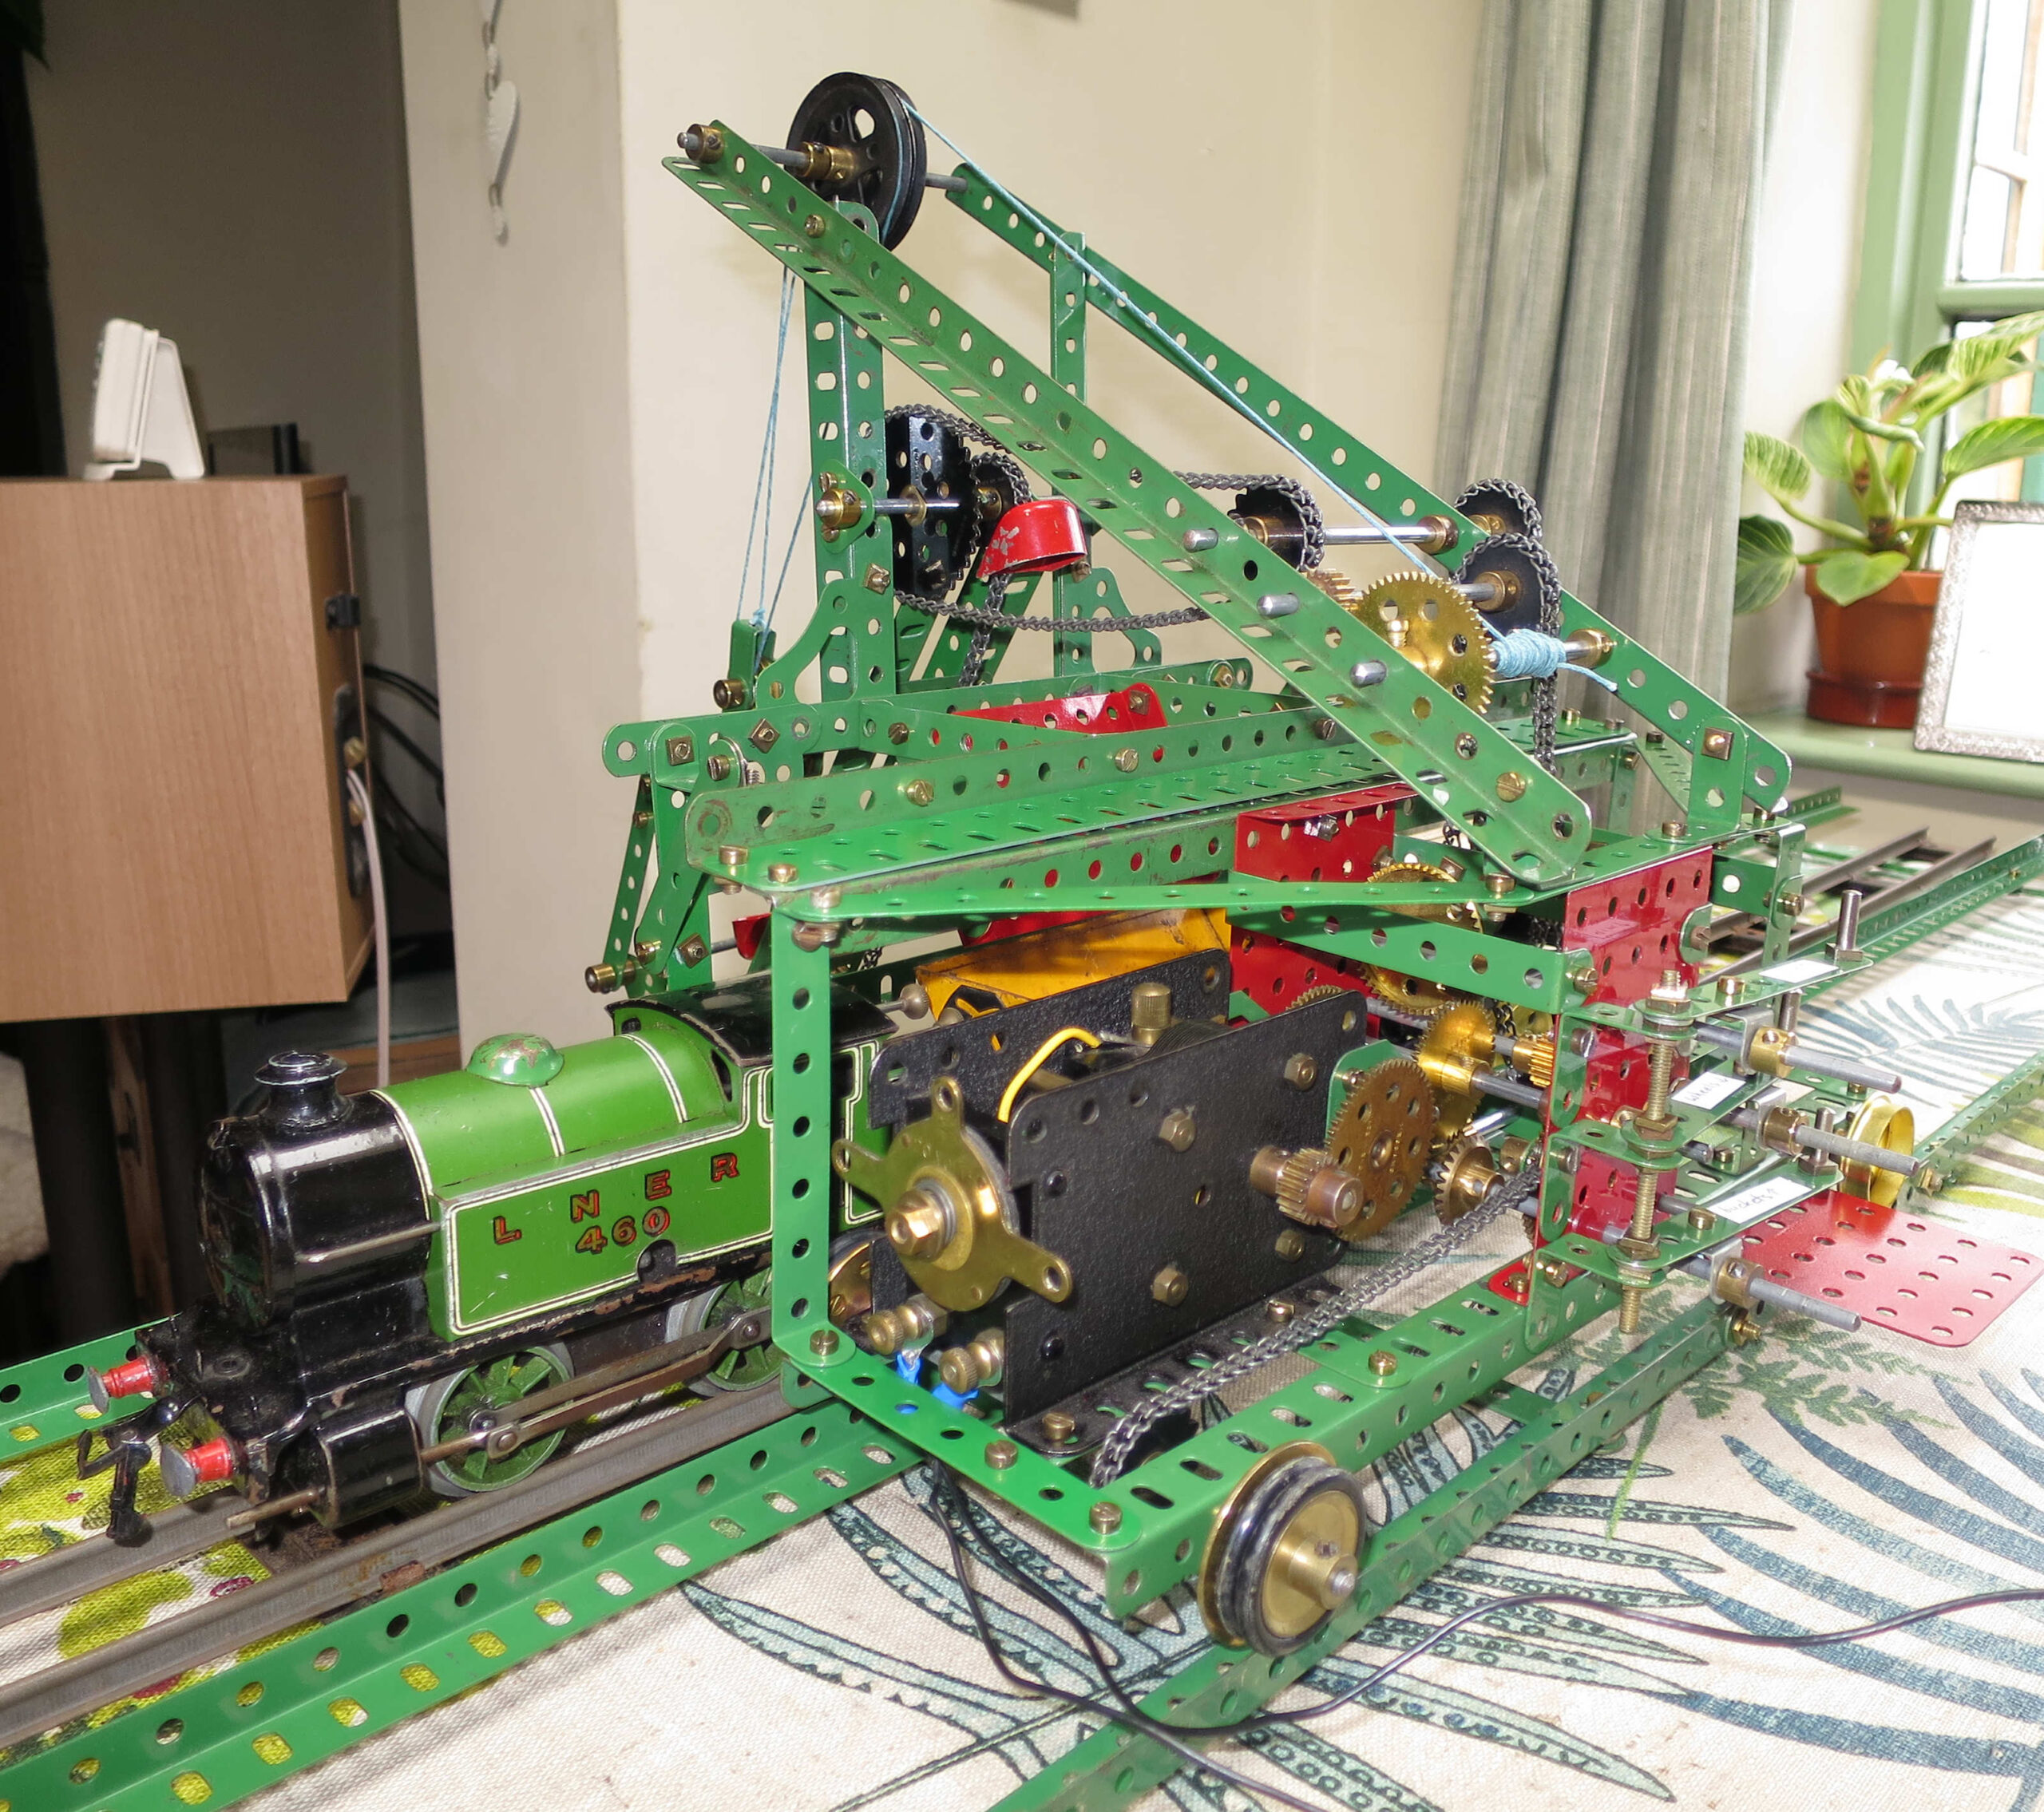
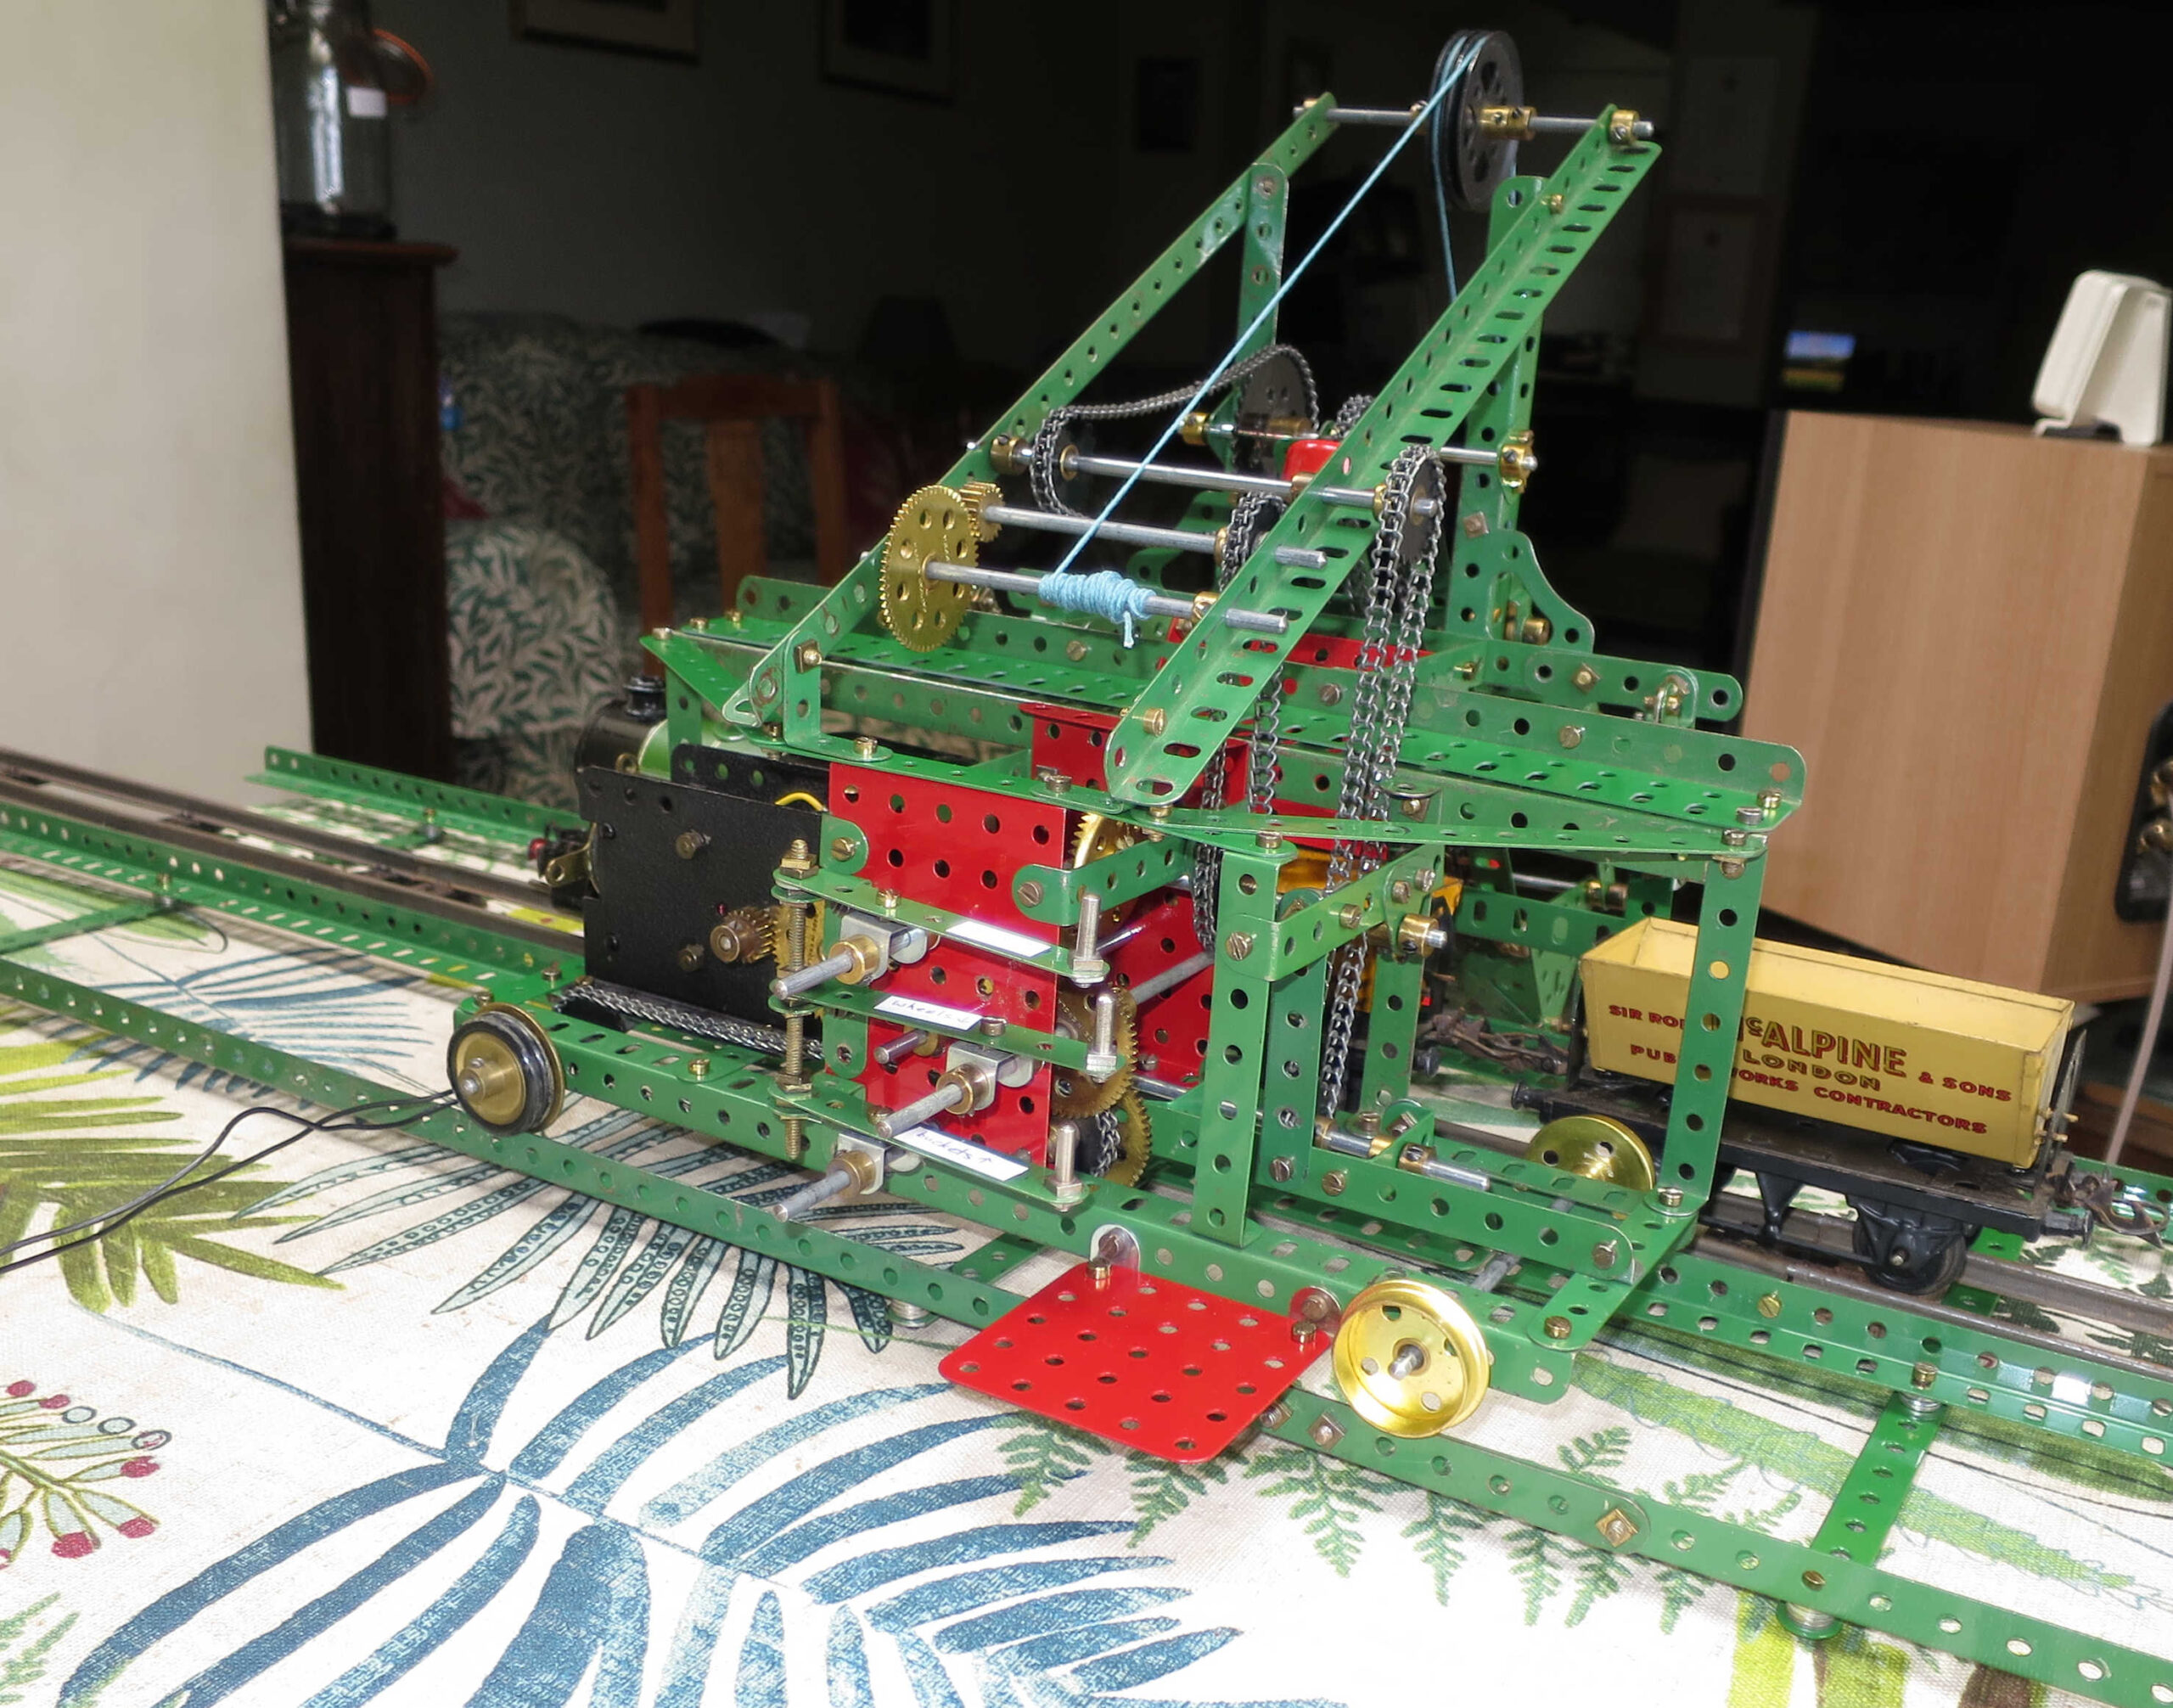
There was a version of this model in the 1916 Meccano Instructions Book, and in 1928 an improved version was issued as a Super Model (number 7 in the series). It was included initially with Outfit 6 and subsequently with Outfit K.
This is a simple model, as Super Models go, and the build didn’t give any serious problems. The finished scales work OK, but they aren’t particularly accurate. I’m pretty sure that’s because the crucial knife-edge bearing is nowhere near sharp enough. It’s formed by balancing two centre forks on the teeth of a couple of pinions, and centre forks really aren’t sharp enough for the job. I could have experimented with something like a Stanley knife blade instead, but I decided to leave it as it was and move on.
Build issues
There weren’t very many of these:
The scale on the original is just a long strip of unsupported card. I backed this card with a 9.5″ strip, with an angle bracket at each end.
The 1934 version of the leaflet I was using (from Geoff Wright’s reprint book) illustrates the model using 5.5″ braced girders for the base, but some added text says use strip plates instead – the braced girders were no longer included in the new Outfit K. The parts list omits the braced girders, and includes 3 of part 195 instead. Post-war part 195 was a 7.5″ by 2.5″ strip plate, which makes no sense for this model. However, from 1934 to 1938 part 195 was a 5.5″ by 2.5″ strip plate, which is what was intended for this revised version of the model. I used braced girders – if you want to use 5.5″ by 2.5″ flexible plates (part 192) then you’ll probably need to add more rigidity to the framework.
The parts list omits one of the three 5.5″ angle girders you need, three reversed angle brackets, and about 10″ of sprocket chain.
…or to give it its full title, ‘Travelling Bucket Dredger, or Conveyor’
September 2026
Introduction
This machine was intended to dredge harbours and canals, to keep the water deep enough for shipping. It needed rails to be laid along the waterside which probably limited its applicability to big construction projects, and these days such dredging is largely done with floating pontoons and barges – in my experience anyway.
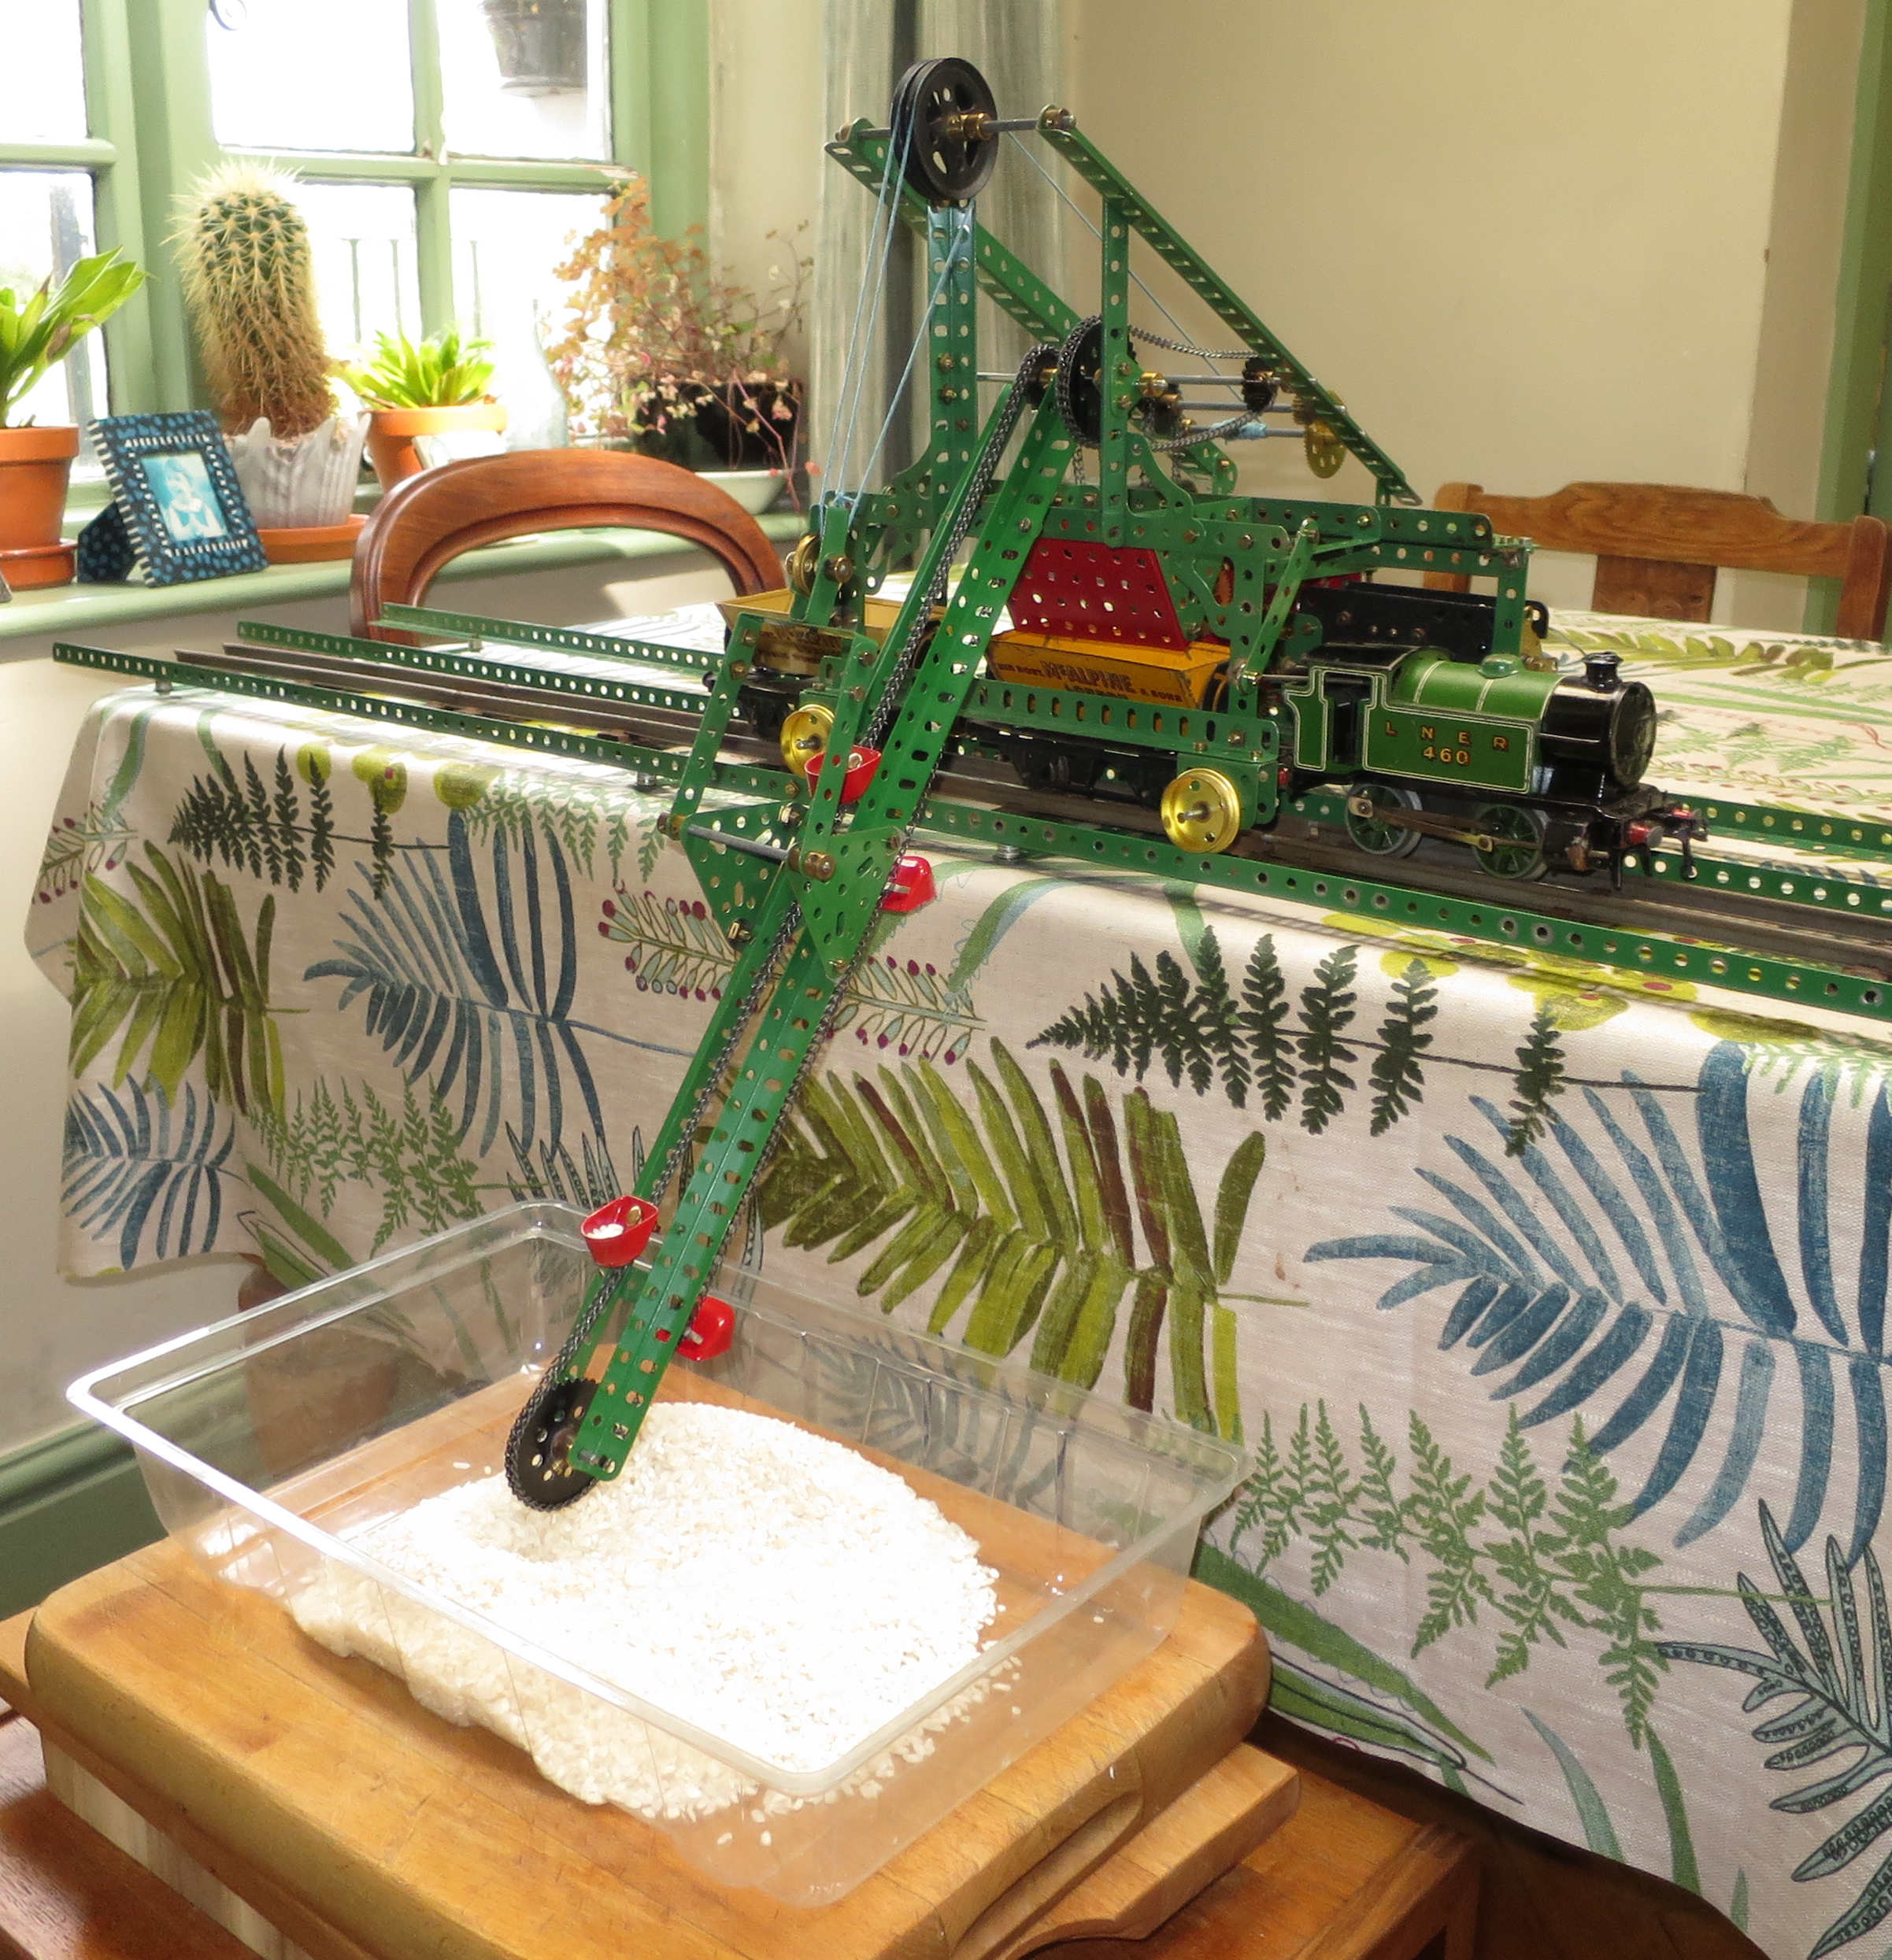
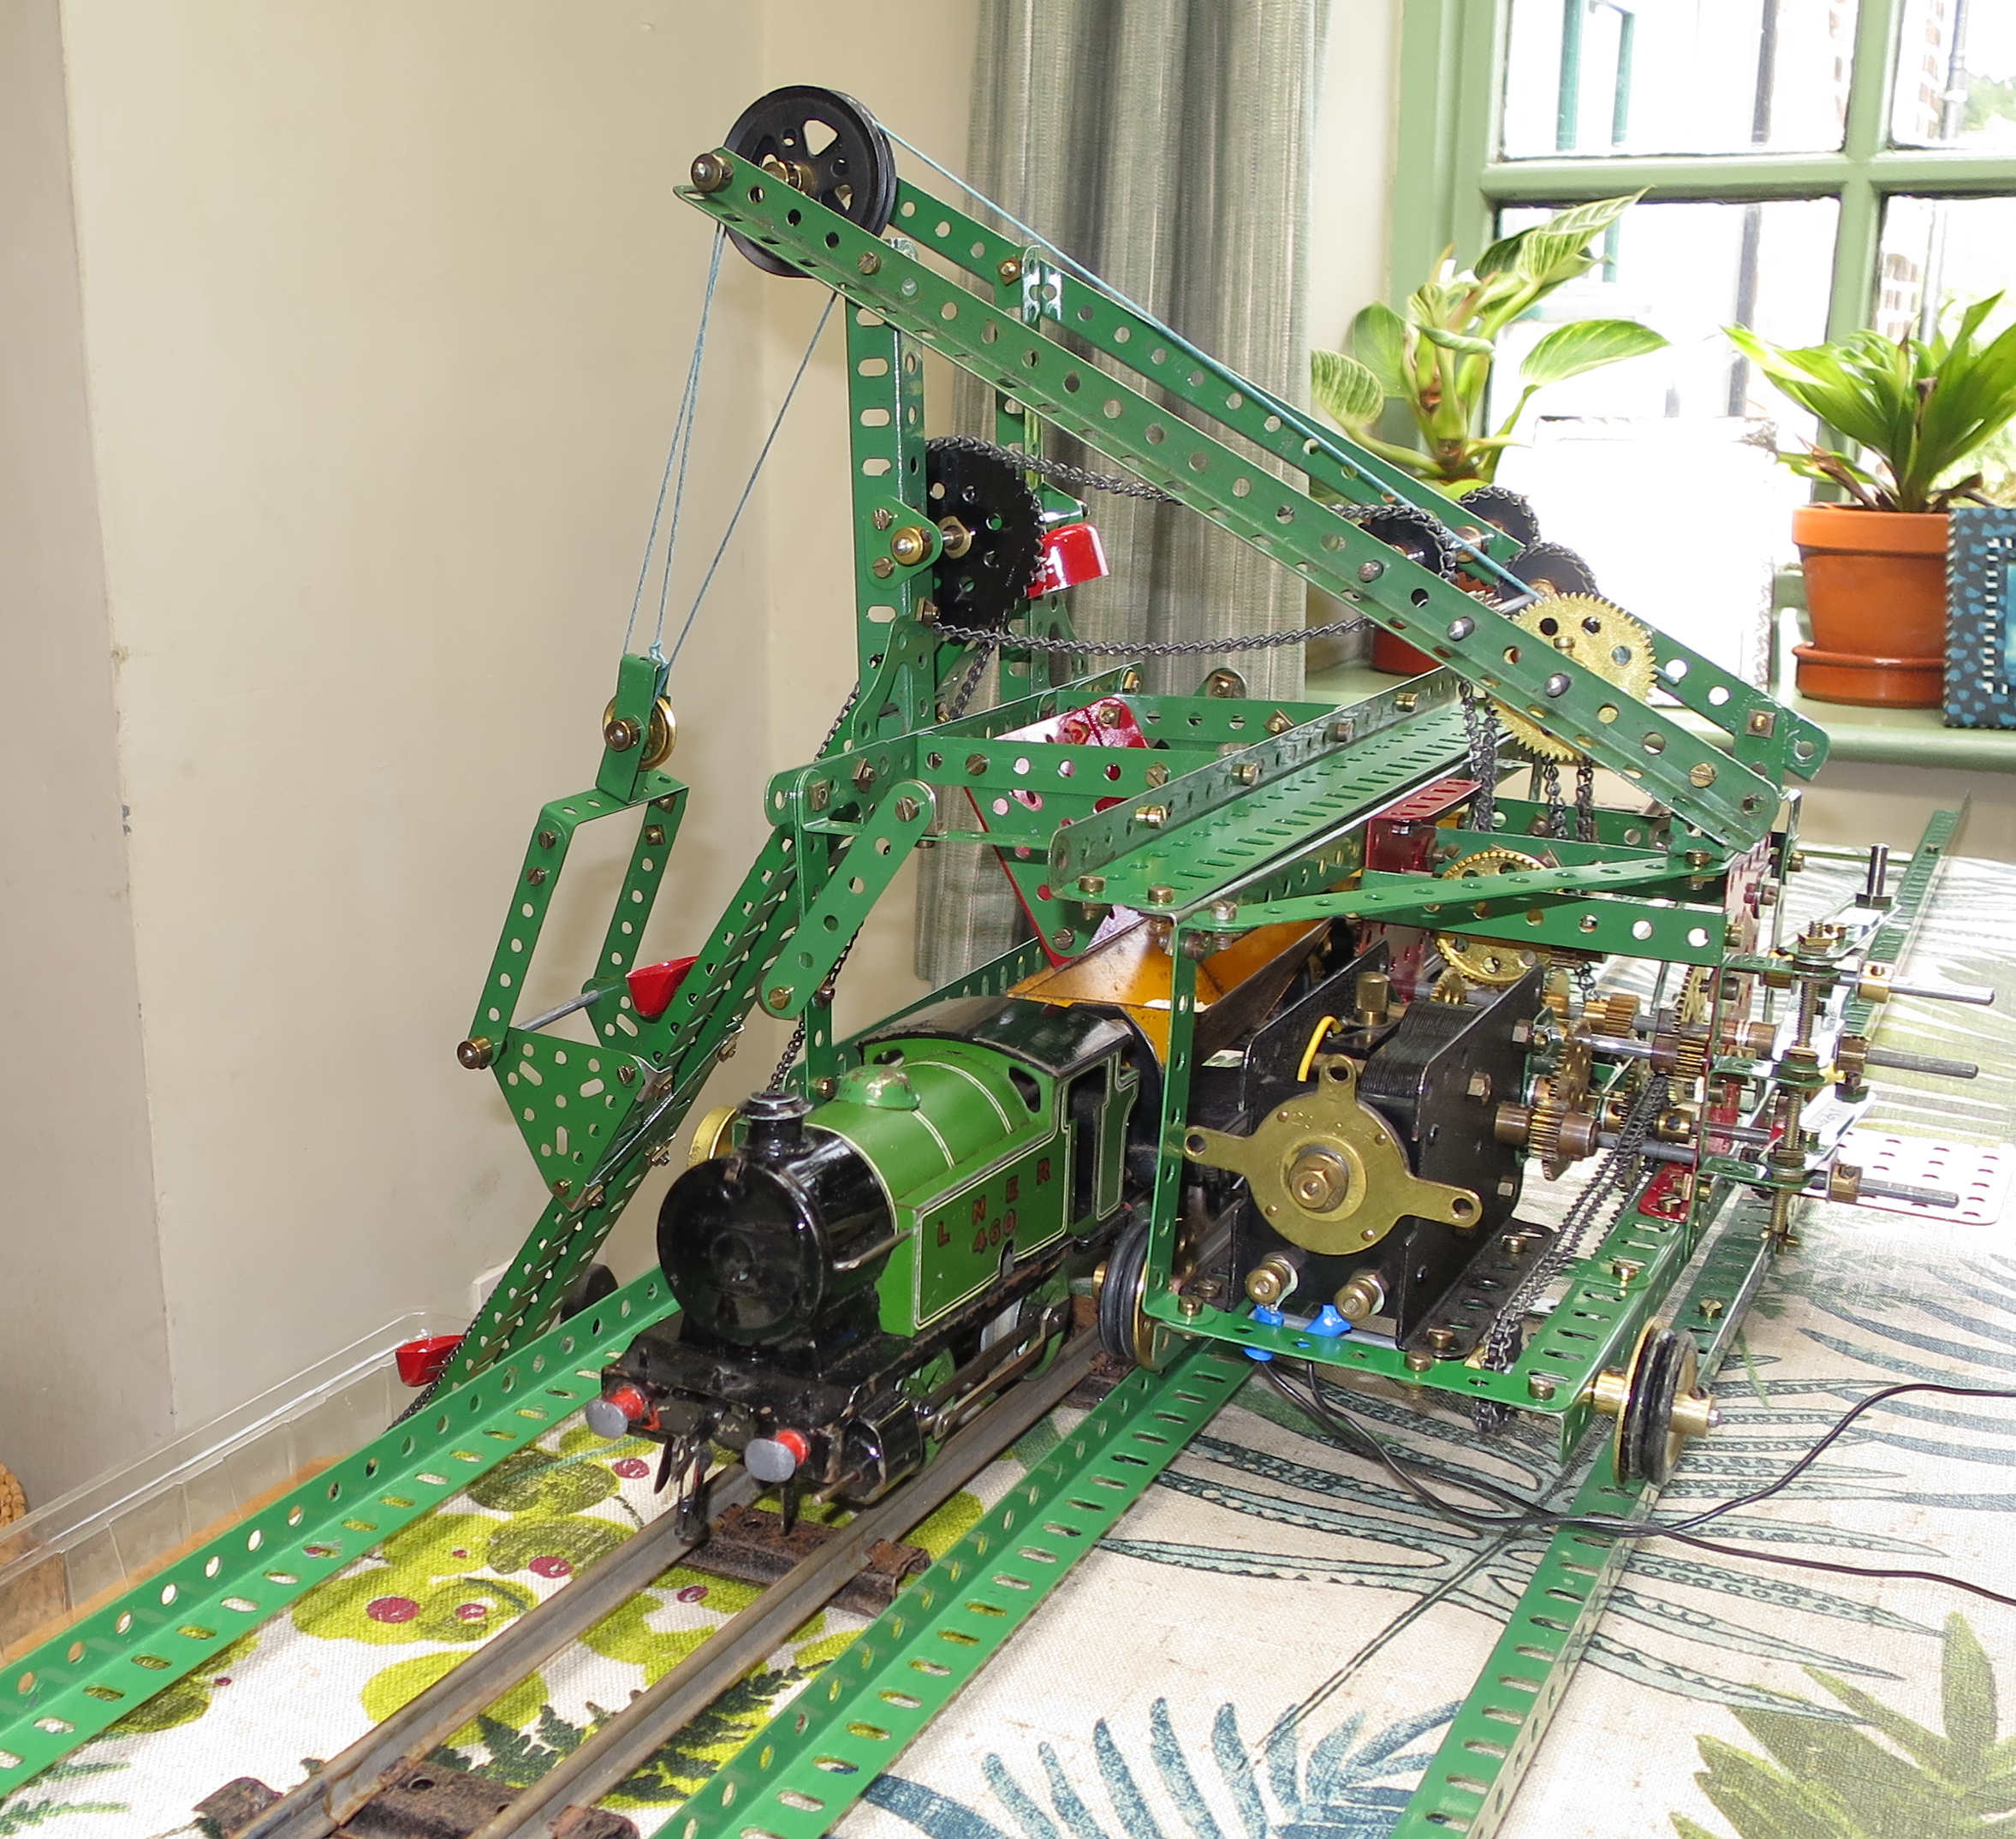
The model has two sets of rails, one inside the other. The outer three rails let the dredger move along the waterside, while the inner rails are for Hornby tinplate tipper wagons, so the dredged material can be taken away for disposal. The prototype dredger scooped sand, gravel and mud up from the bed of a watercourse and dumped it into a railway wagon. My model uses imaginary water, and scoops up Tesco’s risotto rice grains instead of sand and gravel – a lot less messy and a lot better for my Meccano and the living room. The dredger arm also moves up and down, so there are three separate mechanisms, all powered from a Meccano electric motor, with a gearbox to allow each motion to be selected individually.
The earliest version of this model I’ve found is in the 1923 Meccano Instructions Book, for building with Outfit 7. It’s virtually the same as the Super Model version, which was published in 1928 along with most of the other Super Models. It’s Super Model number 5.
My thoughts on the model
I was looking forward to building this one, and it didn’t disappoint. I’d bought some Hornby tinplate railway bits – some straight track, a loco and a few wagons, including a couple of the side-tipping McAlpine wagons featured in the Super Model 5 leaflet. I’d bought 5 digger buckets and we already had a 1kg bag of risotto rice left over from a holiday trip. And I had plenty of angle girders for building the dredger’s track – the track parts aren’t included in the parts list.
Before I started the build my main concern was with the dredging action. Would I be able to get the long chain to stay on the sprockets? I’ve had plenty of problems with much shorter chain runs than this one, which uses a full 40″ chain length. Would the bucket fastenings cause the chain to come off the sprockets? Each bucket is fastened to the chain, so could easily foul the sprockets. Would the chain come off as soon as the first bucket touched the rice? To my surprise it just worked, with very little extra fettling. And it went fast.
It was a satisfying model to build, and a fairly unusual one. It needs the train, or you’re going to be dumping the dredged material all over the place. It needs to be on two levels, one for the dredger and one to represent the watercourse at a lower level. The leaflet instructions and illustrations are pretty good in most areas but not perfect, so I’ve given a few build notes below.
Build notes
The framework
This was where the instructions and illustrations weren’t full enough. I’ll add a few extra tips here, to save a bit of head-scratching if anyone else is interested in building this one. References are to Fig. 3 in the leaflet.
There is a horizontal strip visible to the upper right of the picture. This is a 9.5″ strip (part 1a). The parts list incorrectly says you need a 12.5″ strip (part 1).
The flat girder in the picture is part of a z-shaped composite girder: two 12.5″ angle girders plus the flat girder.
You can see the end of a diagonal bracing 5.5″ strip, numbered 56. What you can’t see anywhere is that there’s another one on the other side (to the left of the picture).
The gearbox
The three moving axles are 6.5″ rods. They are a bit long for the job, and you need to ensure most of the excess sticks out on the lever side, not on the side where the railway is. This is to give room for the trucks.
The hinges for the levers kept coming loose. I fixed this by joining the three angle brackets with a 3.5″ screwed rod. Each bracket was lock-nutted to the rod, and each lever was lock-nutted separately immediately above its angle bracket with a washer between the two sets of lock-nuts. This was a lot better, but still not perfect. I did manage to get a bit of friction into the hinges though, so the gears didn’t slip all the time.
The grub screws in two of the 0.5″ pinions fouled the adjacent 1.5″ gears when the gears were disengaged. I fixed this with short grub screws (part 69c). I fixed a similar problem on the 2″ sprocket at the hinge end of the dredger arm in the same way – it was fouling the girder.
The wheels
The two driving wheels didn’t give enough friction on the rails – they slipped badly. I replaced each flanged wheel with a bush wheel, a 1″ pulley without a boss, and a 1″ pulley with a boss, with rubber rings on each pulley, and the tyres pushed together. I had to replace the 5″ axle with a 5.5″ axle. This fixed the problem.
The two wheels at the water’s edge aren’t journalled properly, so tend to lean. I fixed this by replacing the trunnions with channel bearings.
The rails
As mentioned above, the parts for the rails aren’t included in the parts list. I built 49″ of rail, with three pairs of 24.5″ angle girders, the pairs joined butted together, and each pair joined with a 5.5″ strip. The girders need to have their long holes horizontal so you can adjust the rail widths, and the 5.5″ strips need to be bolted to the round holes of the girders, on the side that won’t foul the wheel flanges.
The sleepers need to be 9.5″ strips, and you need to raise the rails above the sleepers a bit, to make sure the tipper wagons don’t foul the dredger’s chute. I did this by fixing the sleepers to the rails with 3/8″ bolts, with 5 washers between sleeper and rail. This just gave me enough clearance.
The arm sprocket chain
On my first attempt I had the chain set up with the end of each link on the outside of the loop, pointing backwards (in relation to the direction of chain travel). That’s how I usually set up chains. This didn’t work – the chain kept coming off. So I tried it with the end of each link on the inside of the loop, again pointing backwards. Problem solved, and I don’t know why it worked. Whether it was connected with the buckets, or just because of the length of the chain, or a dodgy link or two, I just don’t know. Anyway, next time I have trouble keeping chain on sprocket I’ll be trying the same dodge.
The parts list
The parts list was reasonably accurate apart from the 9.5″ vs 12.5″ strip mistake mentioned above. The only other significant error was that you only need three 6.5″ rods, not 13! I had a handful of minor parts left over, and no idea where they were supposed to have fitted, but I can live with that sort of mistake.