Meccano Strip Roller

This is a tool rather than a model. I’ve already had to bend quite a few strips and flexible plates, and I’d rather bend them smoothly if I can. They’ll last longer and look better that way. So I’ve bought a set of steel rollers that should enable me to build a rolling mill for strips, plates up to 2.5″, and even flat girders, I hope. So far I can’t get enough power to the rollers, as whatever I fix to the end of the driving roller to drive it just slips. It’d probably bend flexible plates and short strips OK (short strips being thinner than long ones), but it’s not up to longer strips. I’m not even going to try to bend flat girders until I really have to, but there are pre-war Outfit 10 models that need them bent.

So, next step is to file flats on the driving roller axle. Watch this space…

…and when I’ve taken photos I’ll post them here.

Meccano Dockside Crane

November 2023. I’d built one big crane, so the dining room table was starting to look like a dockyard already. What it needed was another crane, this time in blue, yellow and zinc. You can’t have too many cranes. Another 1970s outfit 9 model, and this one went together with no real problems. It looks good, if a bit weedy next to the hammerhead crane. I’ve no idea why there’s a 1″ rod at the top of the revolving column. I didn’t bother fitting one as it works fine without.

Meccano Hammerhead Crane

November 2023. Time for my second Super Model build. I’ve got a Roller bearing and I’m going to use it. Well I’d bought the bearing so I had to build a crane, hadn’t I? I picked the hammerhead crane model because it looked big. And it is. Relatively simple though, and a bit of a relief after wrestling with a double decker bus. And it does look good. And it works.

Here’s where the pictures are going to be, once I’ve taken them…

Build notes

Most of this build was pretty straightforward, apart from a serious mistake in the text. The section on ‘Building the boom’ starts with the sentence ‘The main girders of the boom 7 and 8 are each built up from two 24.5″ Angle Girders overlapping two holes.’ This just doesn’t work. They end up 1″ too short, and even if it worked the traveller would jump every time it hit the overlap. If you butt the girders together and join them with 5.5″ strips the problems go away and everything fits. That took me a long time to sort out, but I got there in the end.

The other tricky bit was the motor cover. It’s fiddly to fit, as it’s more or less a closed box so you can’t get at the inner nuts easily. And I had to keep taking it off to fettle the mechanism. I got there in the end though.

I had to do a bit of modification to stop the gears dropping out: as standard you have to hold the levers in place to keep the cogs meshed. Aren’t rubber bands wonderful things?

Meccano Breakdown Lorry

September 2023. I’d built the double decker bus with the No. 10 bits and wanted to build something else. It was too soon to break up the bus, so I built this breakdown lorry with my blue and yellow bits. It’s a good-enough model, but the suspension arrangement of the back wheels is just weird.

Build notes

The wordless instructions in the 1970s model manual leave something to be desired, particularly with this one. What on earth was supposed to be in the back of the truck in front of the crane? There’s no photo and the diagrams just don’t cut it. Luckily for me I wasn’t the first to hit this problem, and this video helped a lot. It also explains how you really mount the steering column – the diagram in the manual is just wrong.

With the help of Chris Harris’s video the model came together OK. I couldn’t be bothered to sort the barmy rear suspension out. The correct application of the right elastic bands would do it, but really the design is just too silly.

Meccano Double Deck Bus

August-September 2023. I’d really looked forward to building this one, but it turned out a bit frustrating. It’s got a complicated drive train, that I think was based on the old motor chassis Super Model. Anyway, it took a long time to fettle. The finished model looked good, but I wasn’t really happy with it. It needed proper floors on the two decks, and there was only half a staircase. Basically they’d used up all the outfit’s nuts and bolts, so there are some glaring gaps in the build. Anyway I’d have preferred a model looking more like a London Transport RT prototype I think. The finished model weighed a ton. Here’s what it looked like:

Build notes

This was a fiddly build, and there were some gaps in the model – literally. I added the top half of the staircase that’s missing from the model, but lost the will to live and didn’t add the rest of the flooring. The drive train managed to move the chassis along OK, but the extra weight of the bodywork was too much for it. There were a few minor errors in the text and the parts list, but that’s as normal!

Meccano Ferry Boat

I built this one with my 1970s No. 9 Outfit, to go with the Transporter Bridge. Wrong scale of course, but what the heck. So this was February 2023. I’d not built this one before – I guess I’m a bit prejudiced against boat models as they only model the bit that’s out of the water, so they’re more of a toy than a model in my eyes.

I built it anyway, and it was relatively straightforward, with no major tweaks needed. I had to bend a few strips, which I’ve always been wary of, but I got away with it OK. (Note to self: finish that plate rolling machine. I’ve got the rollers now.) Not the most exciting build, but it went OK. And it’s a good-looking model.

Meccano Transporter Bridge

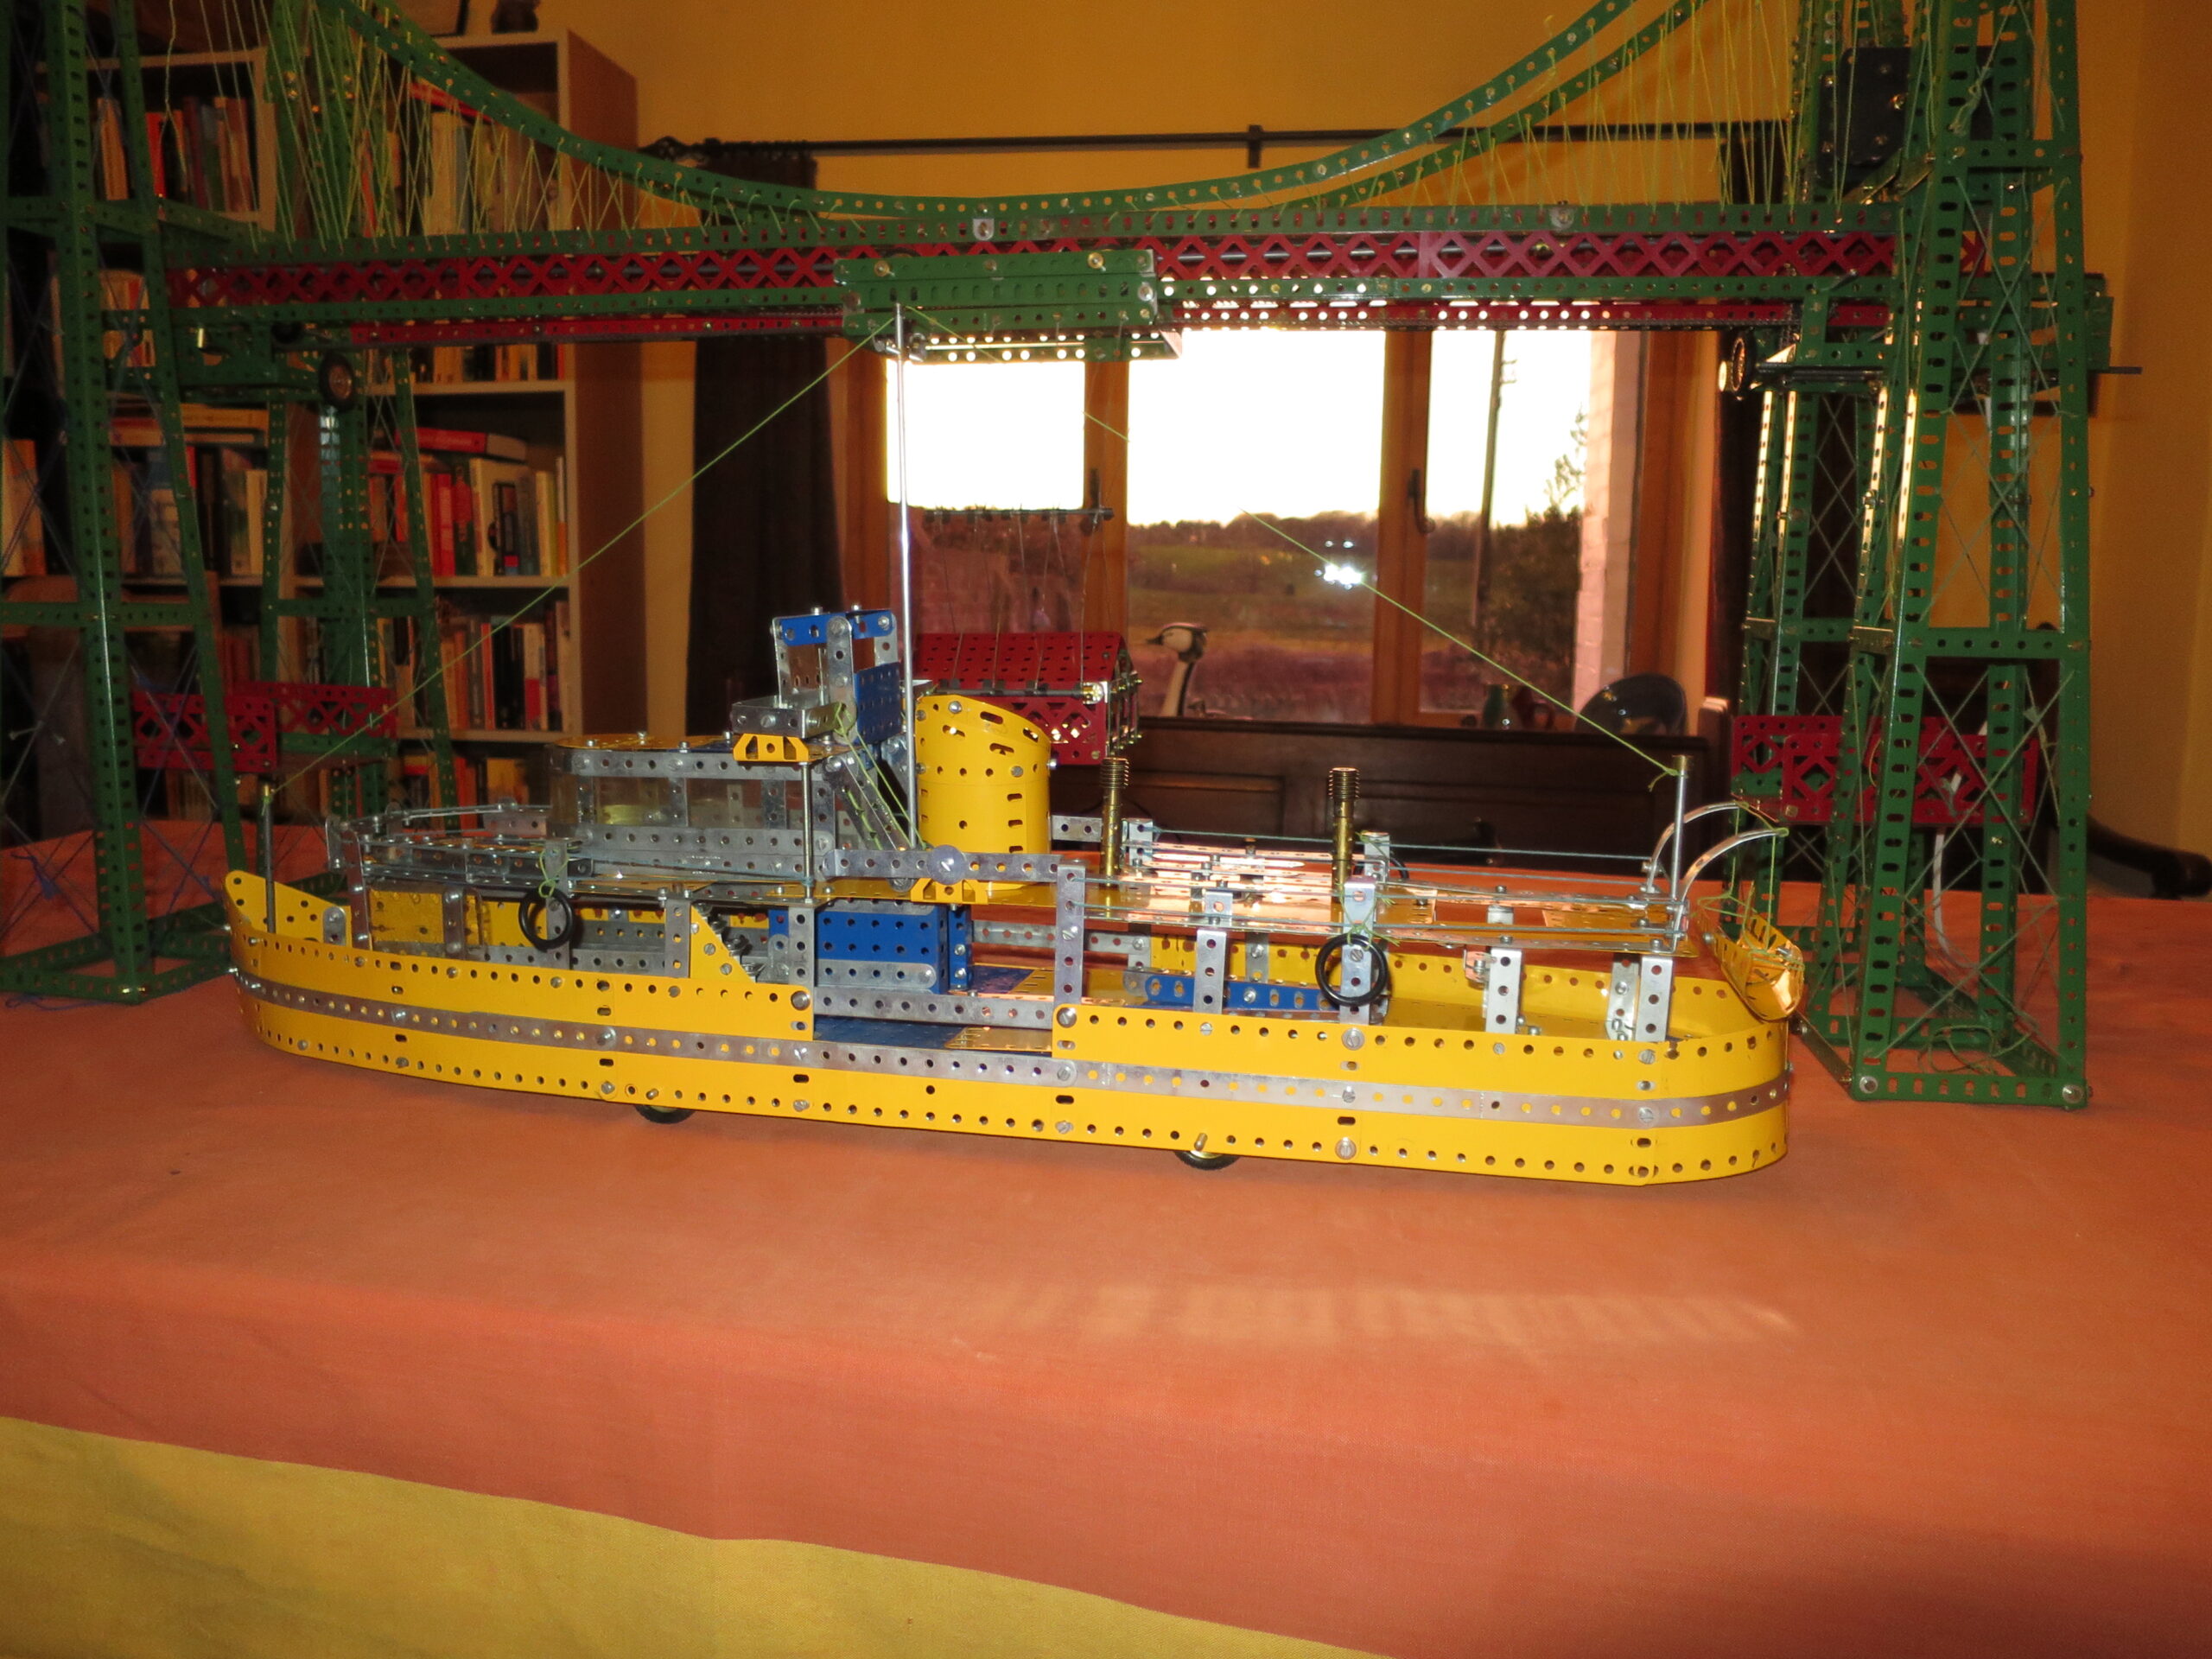
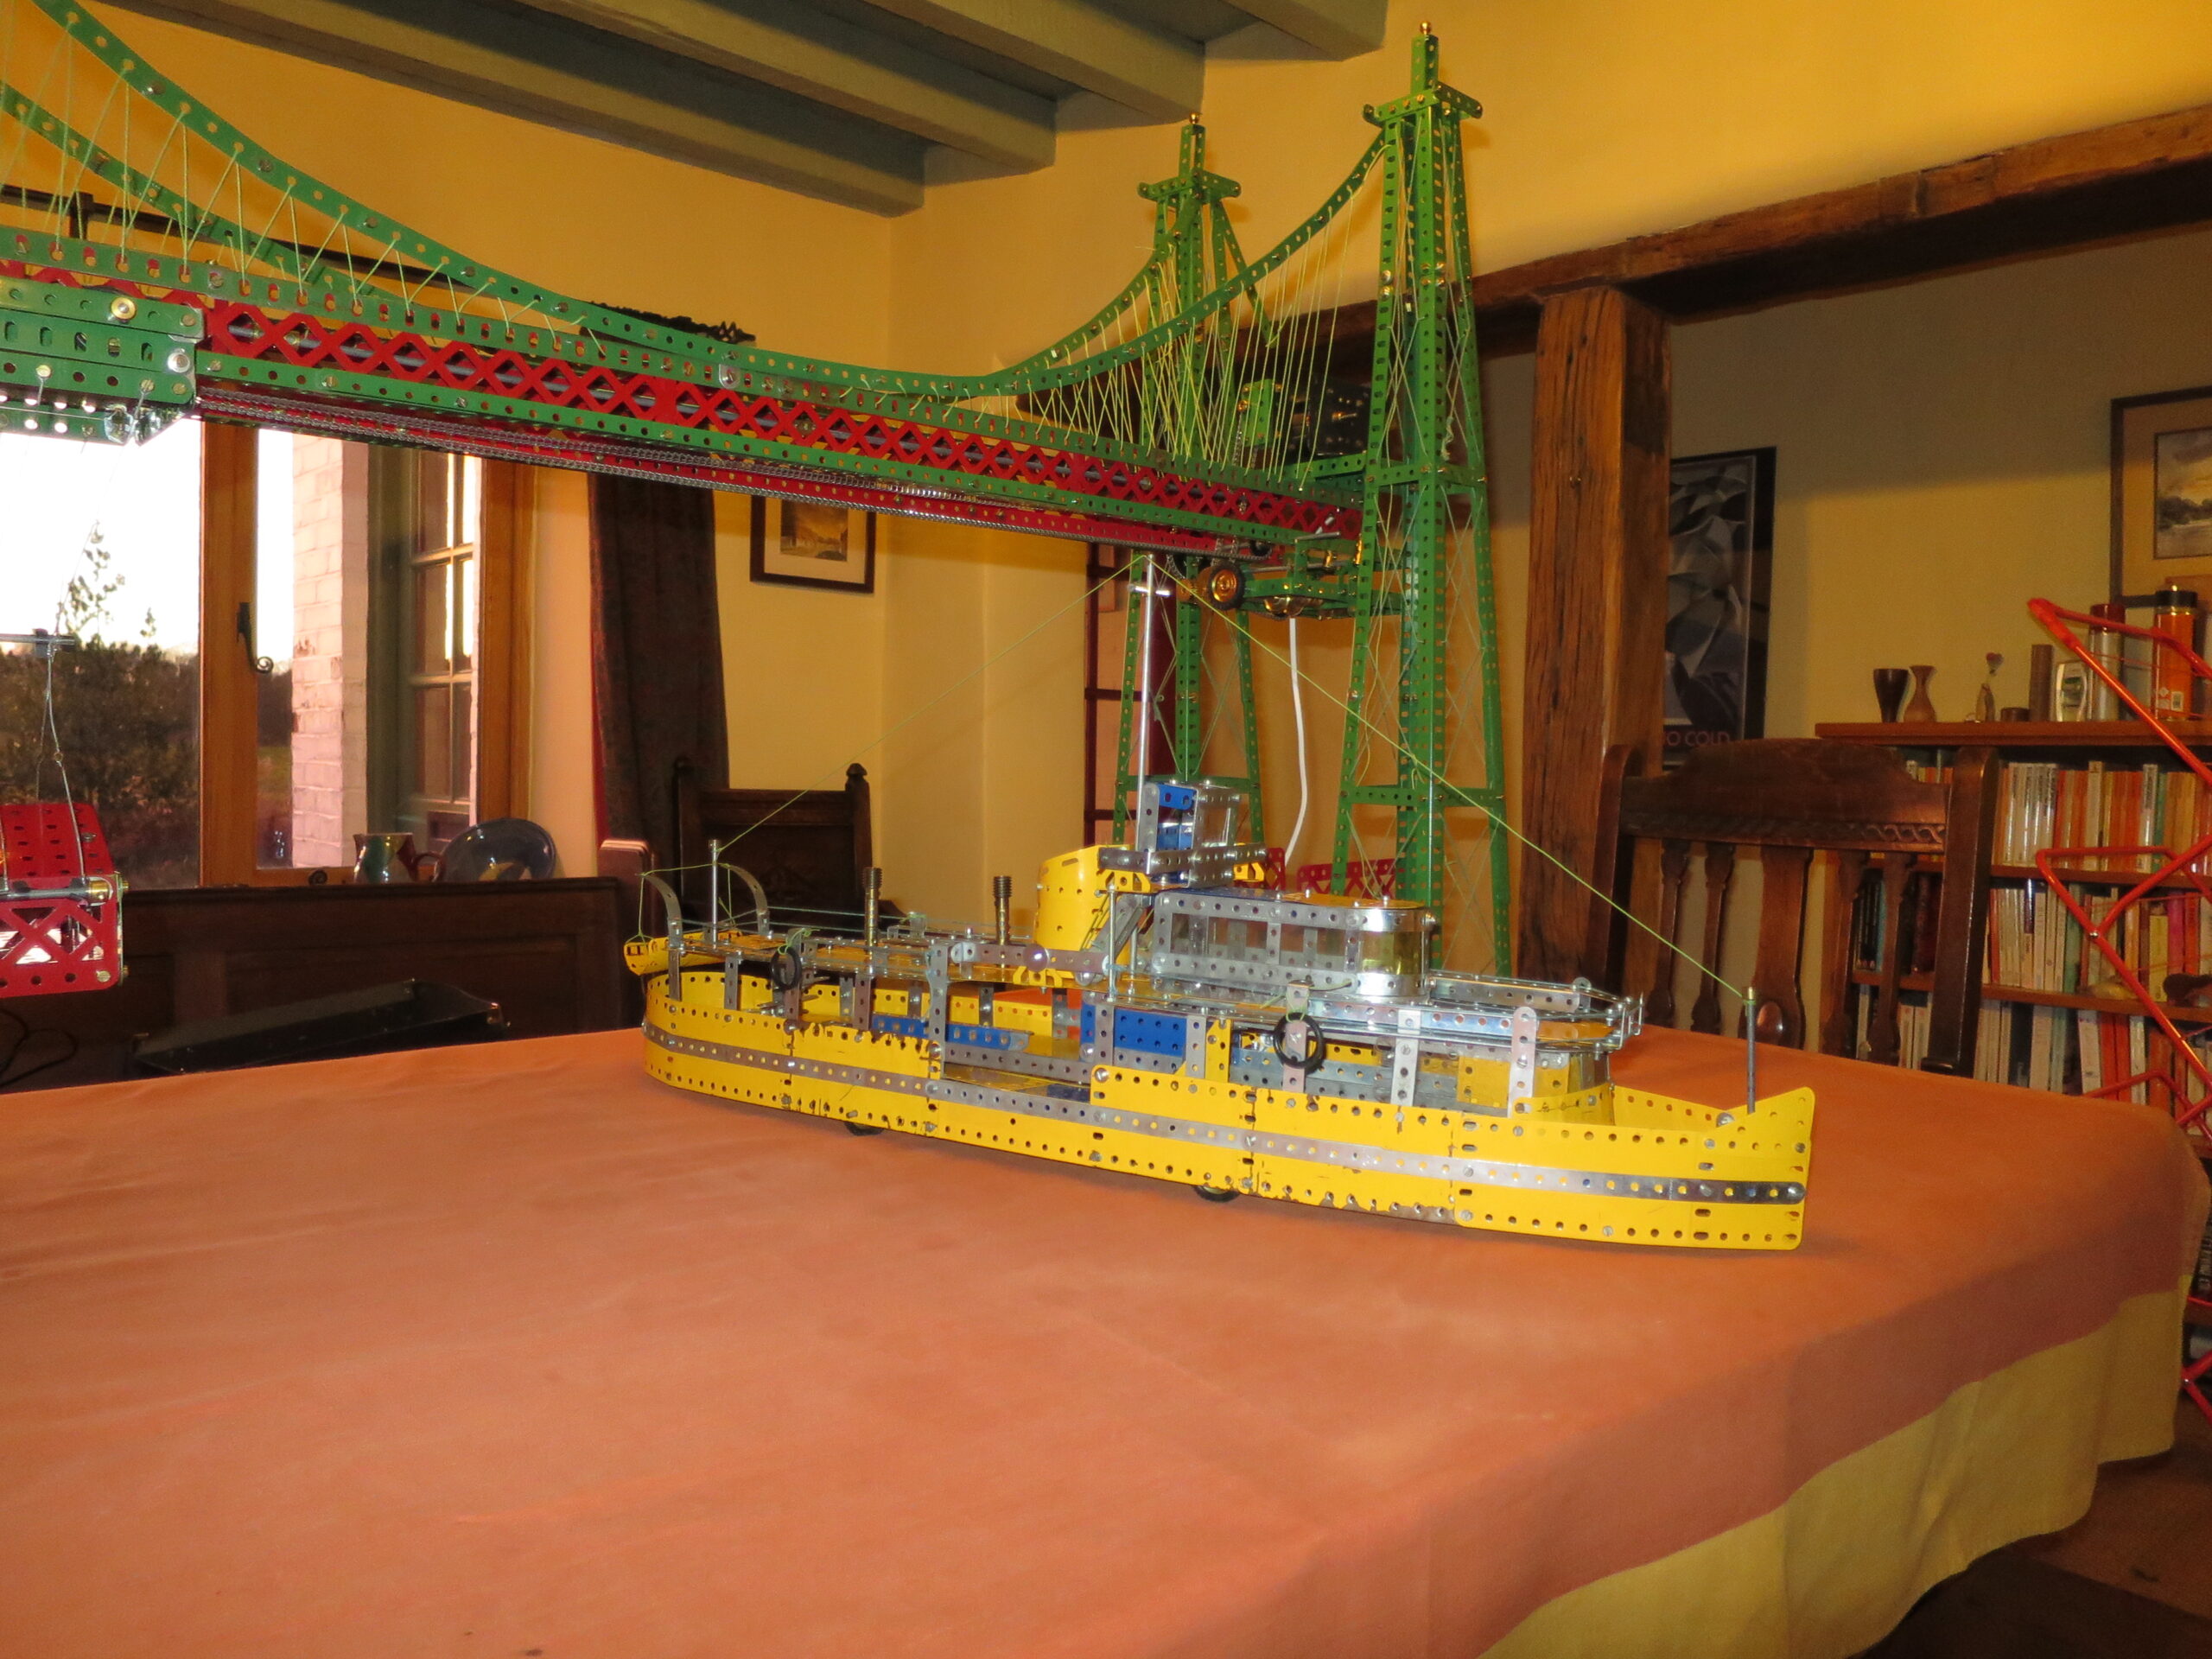
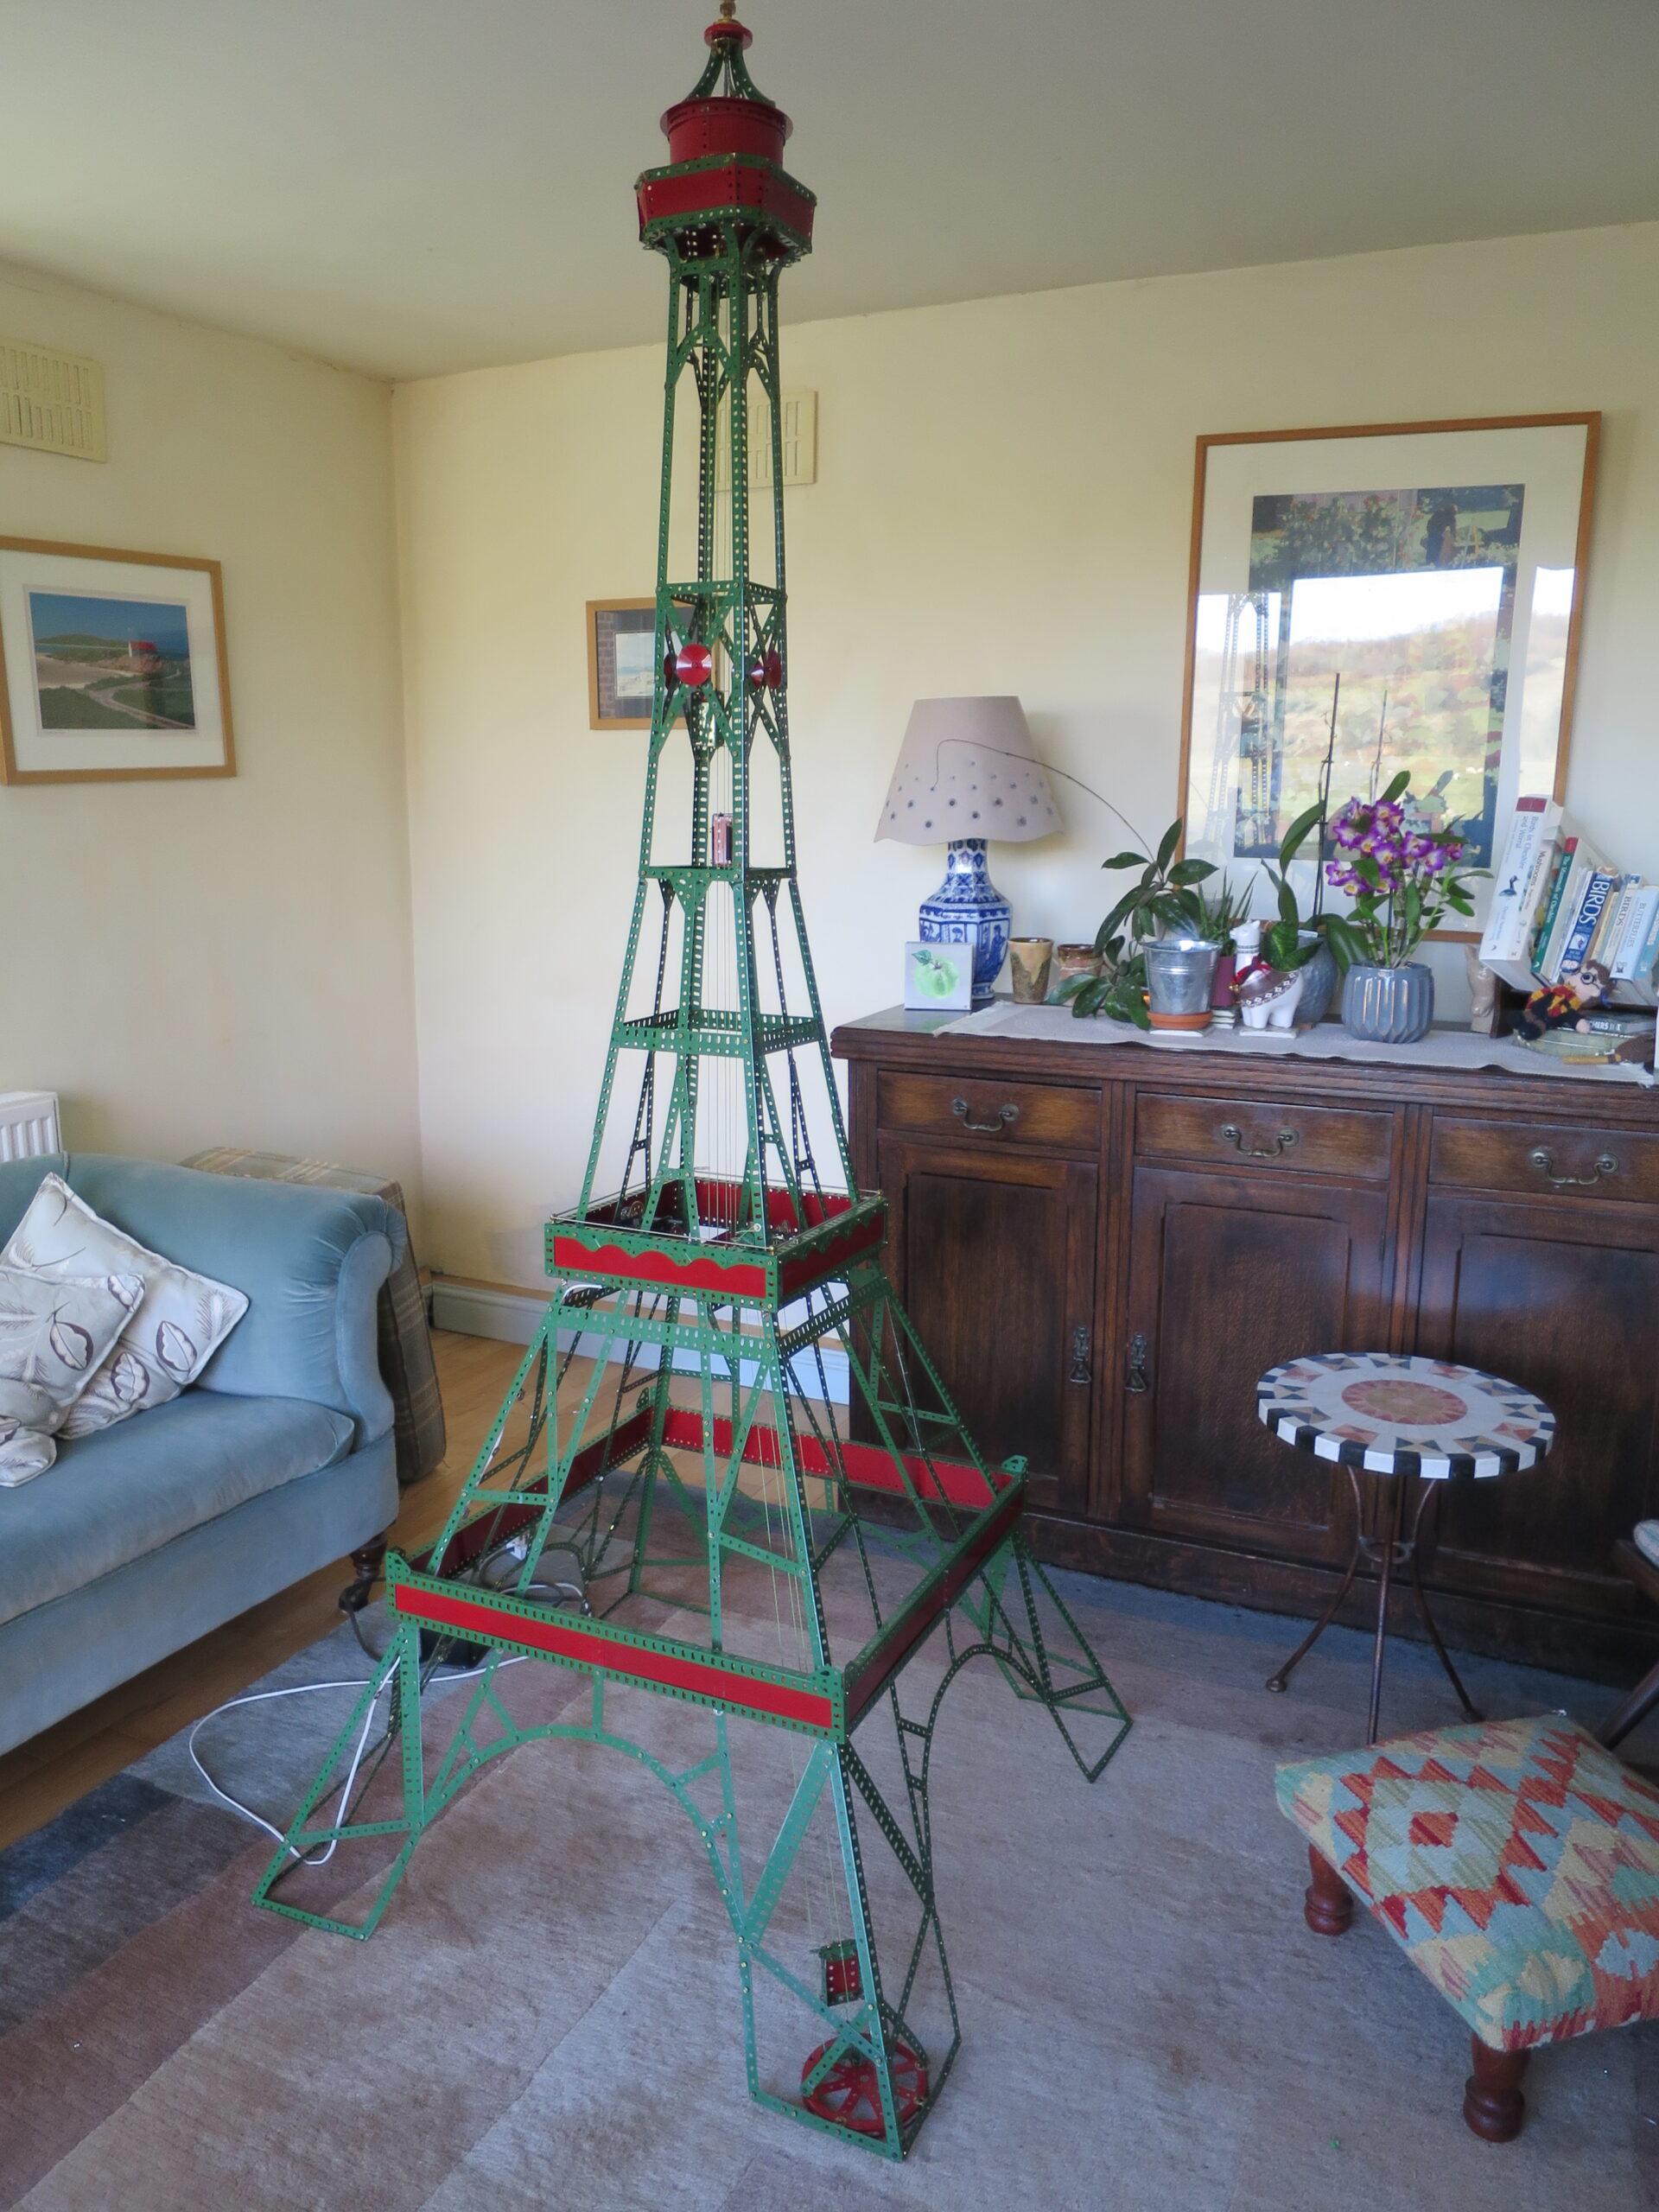
This was my first Super Model build, February 2023. I needed to buy a few extra bits, particularly more braced girders. I wanted to build this one because it was based on the transporter bridge that used to be near here, crossing the Mersey from Runcorn to Widnes. I never saw the original bridge, which was completed in 1905 and replaced in 1961. And before 1905?…

‘On the banks of the Mersey, over on Cheshire side,

Lies Runcorn that’s best known to fame

By Transporter Bridge as tak’s folk over its stream,

Or else brings ’em back across same.

In days afore Transporter Bridge were put up

A Ferry Boat lay in the slip,

And old Ted the Boatman would row folks across

At per tuppence per person per trip.

Now Runcorn lay over on one side of stream

And Widnes on t’other side stood,

And as nobody wanted to go either place,

Well, the trade wasn’t any too good.’

…from ‘Runcorn Ferry’ by Marriott Edgar. Believe that as you will.

Anyway, here’s the model:
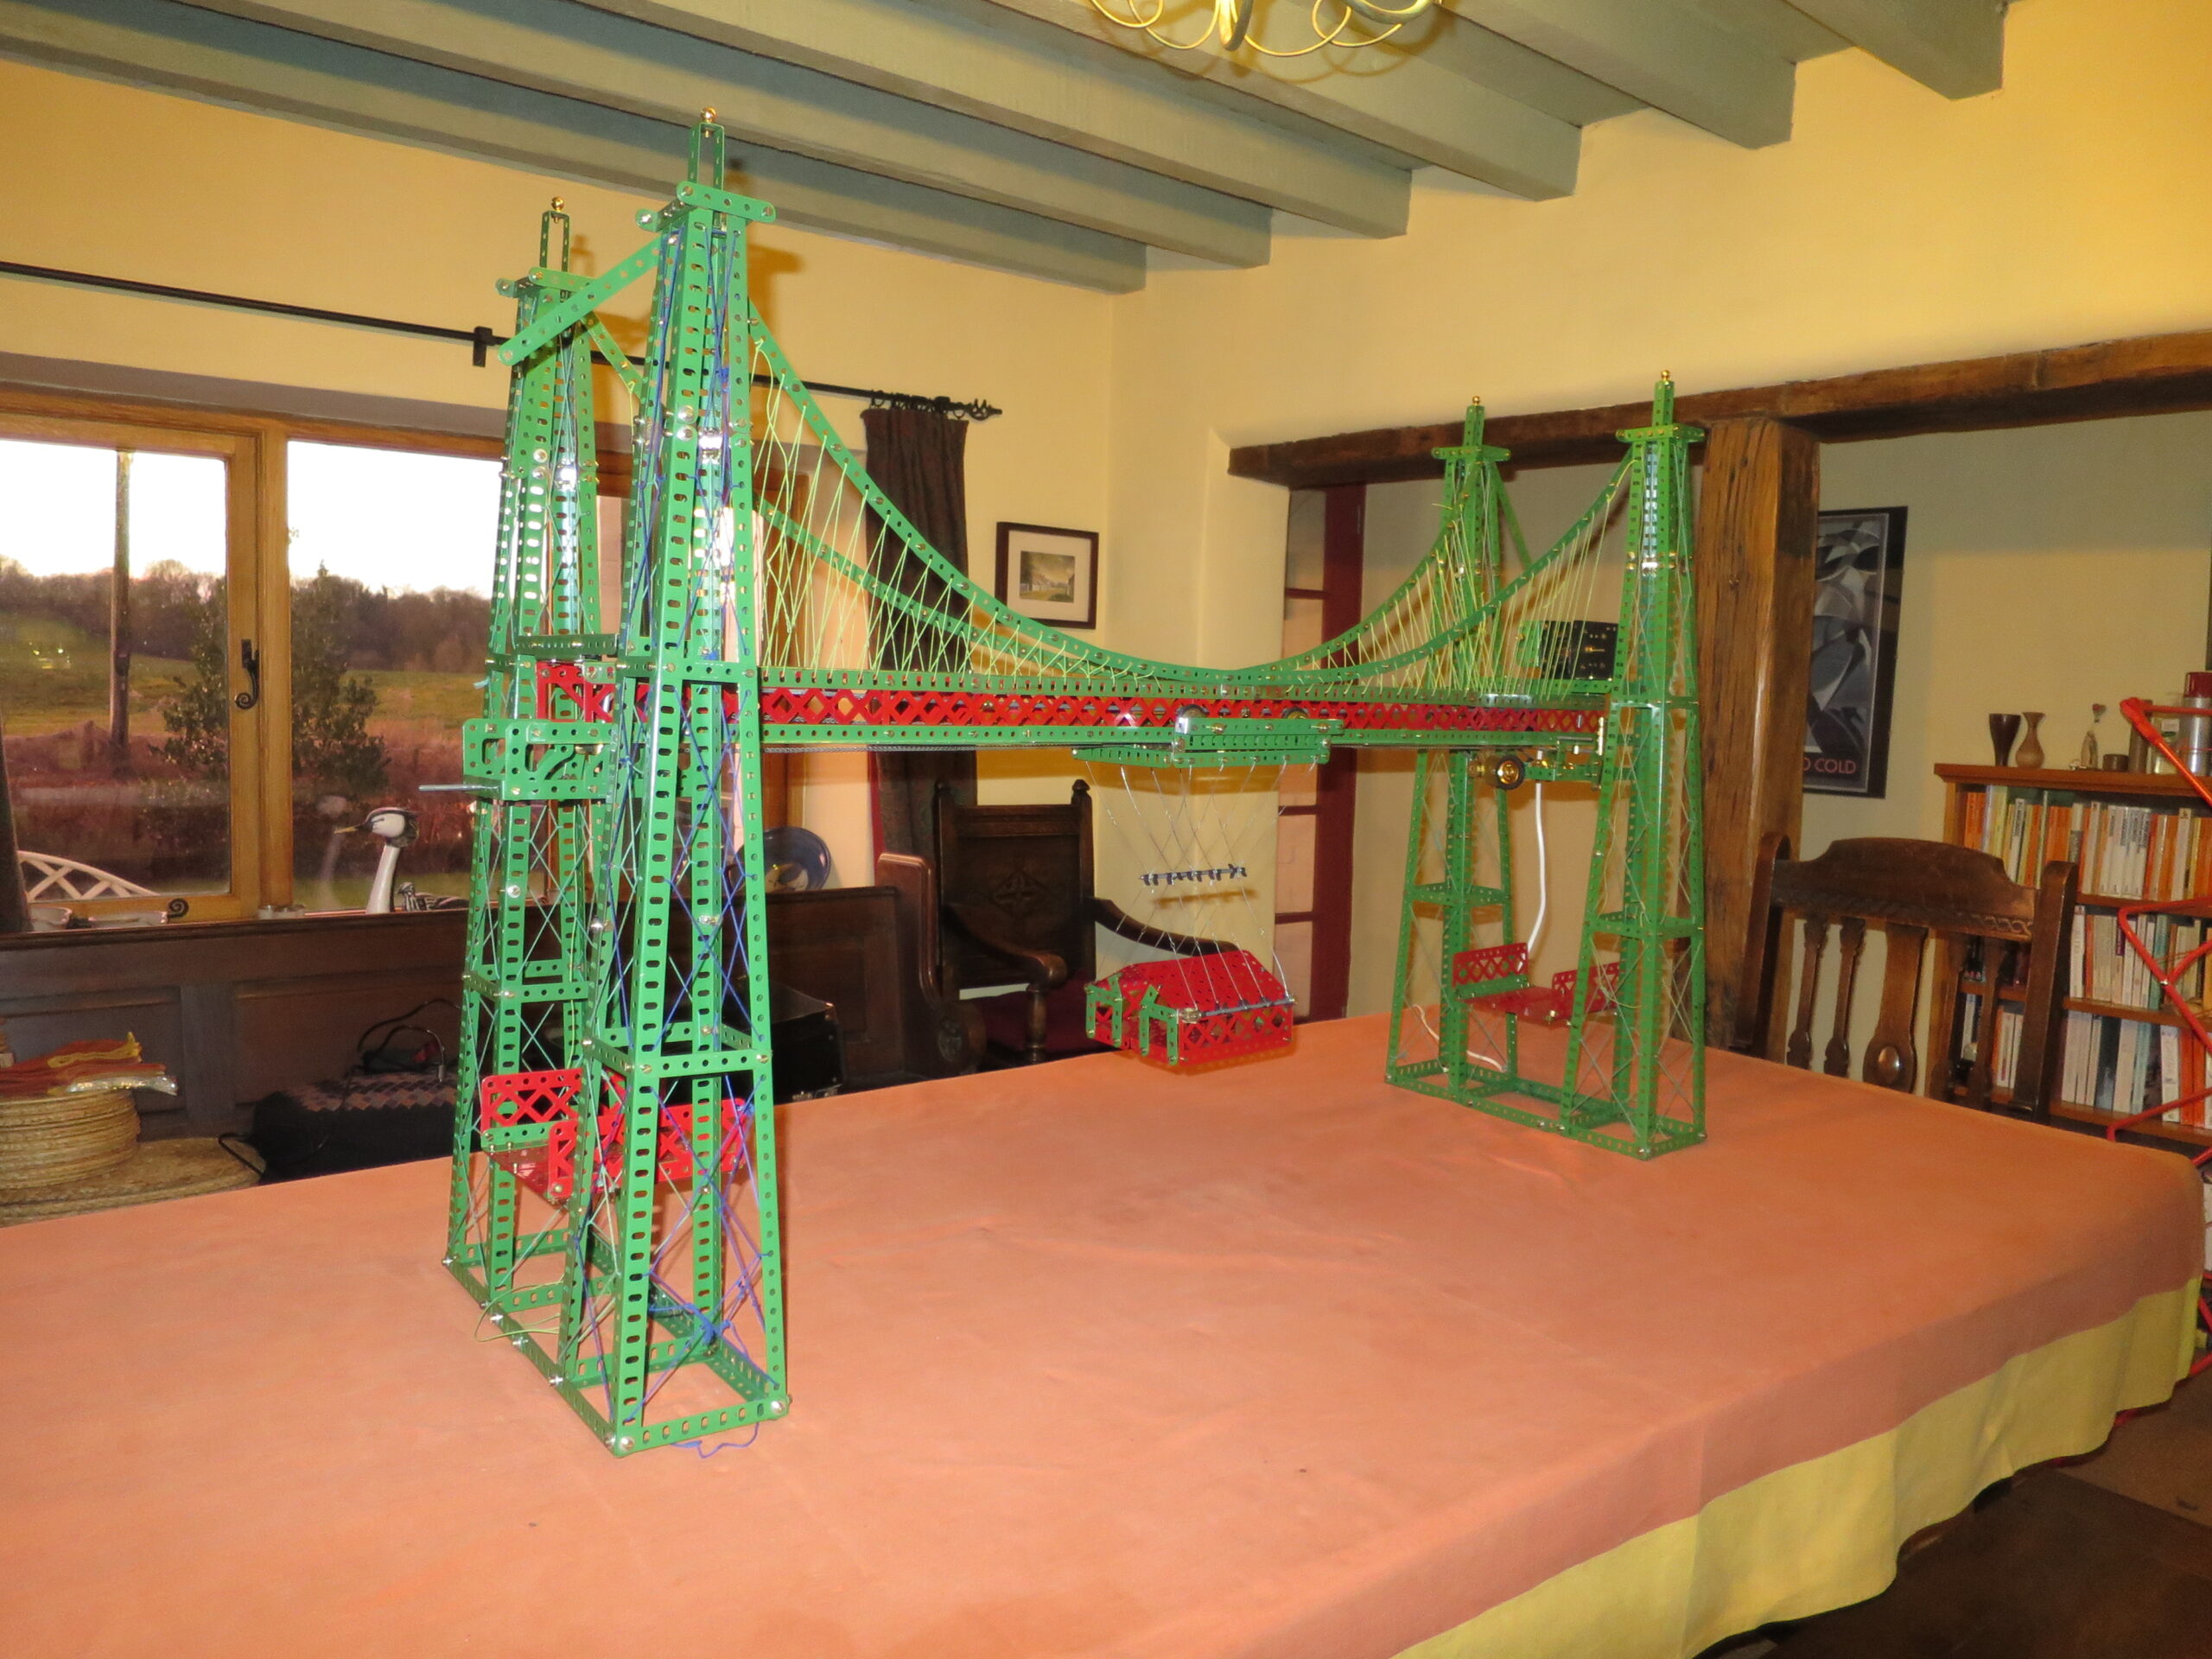
Build notes

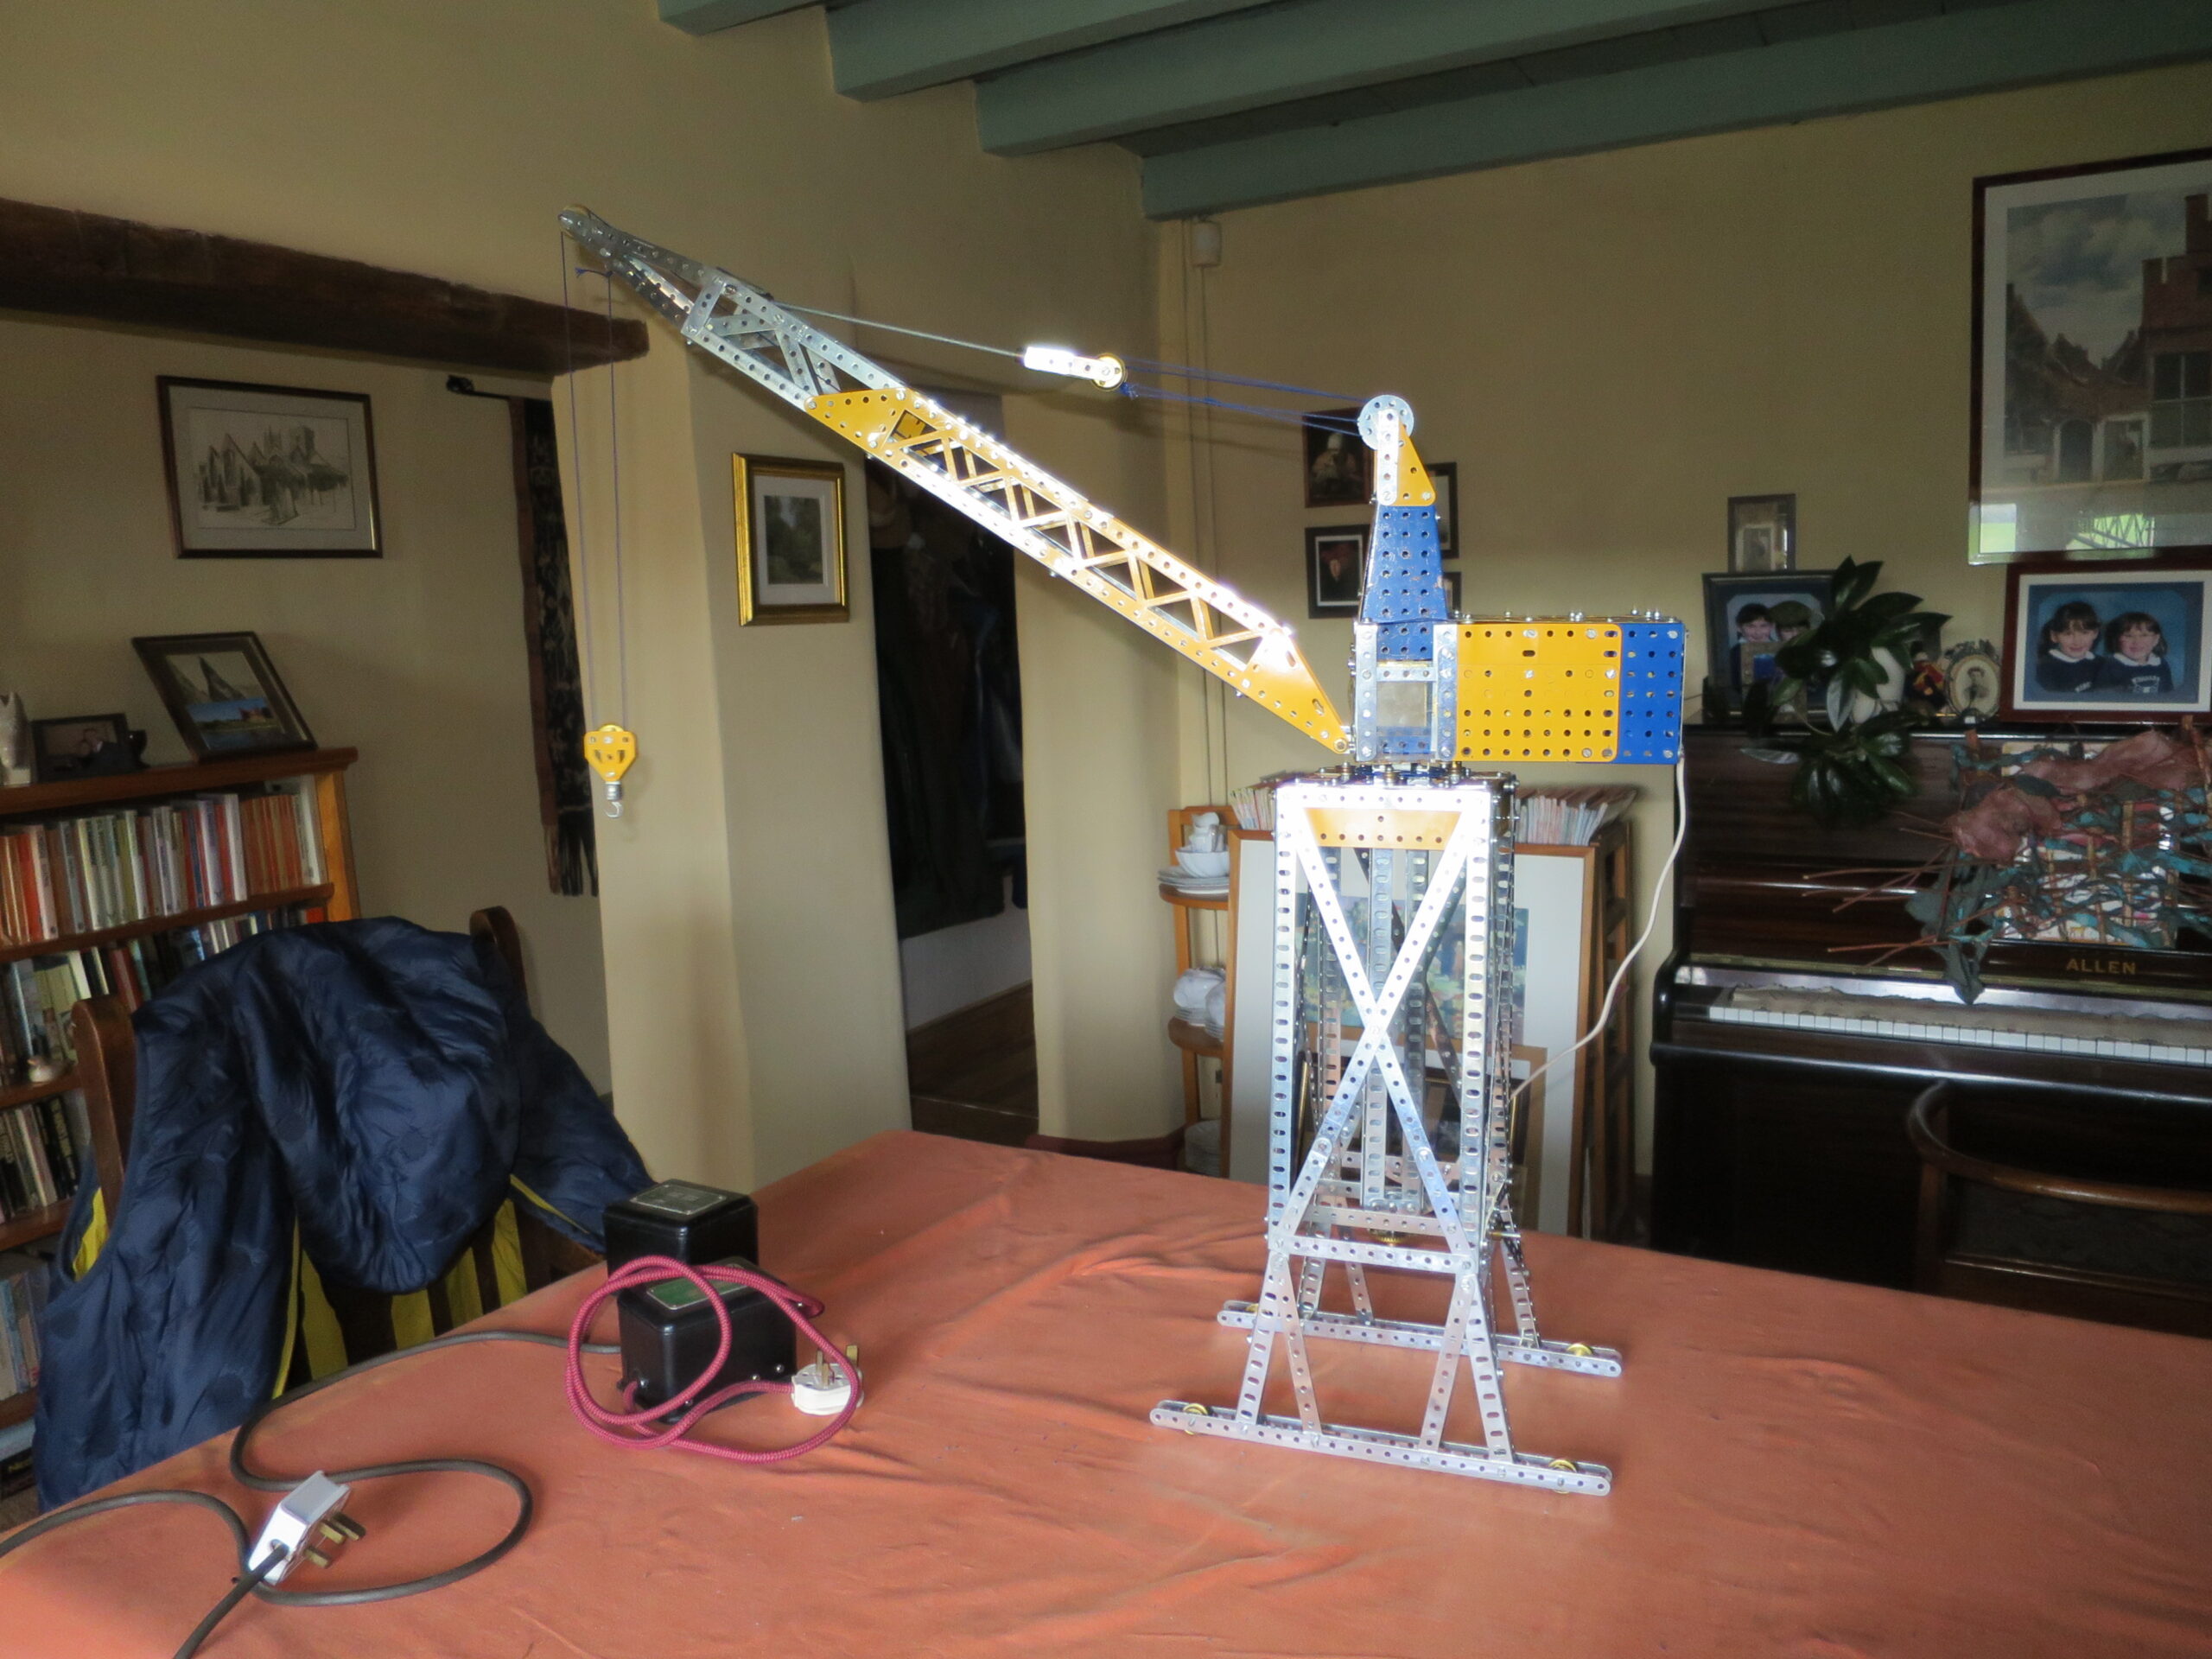
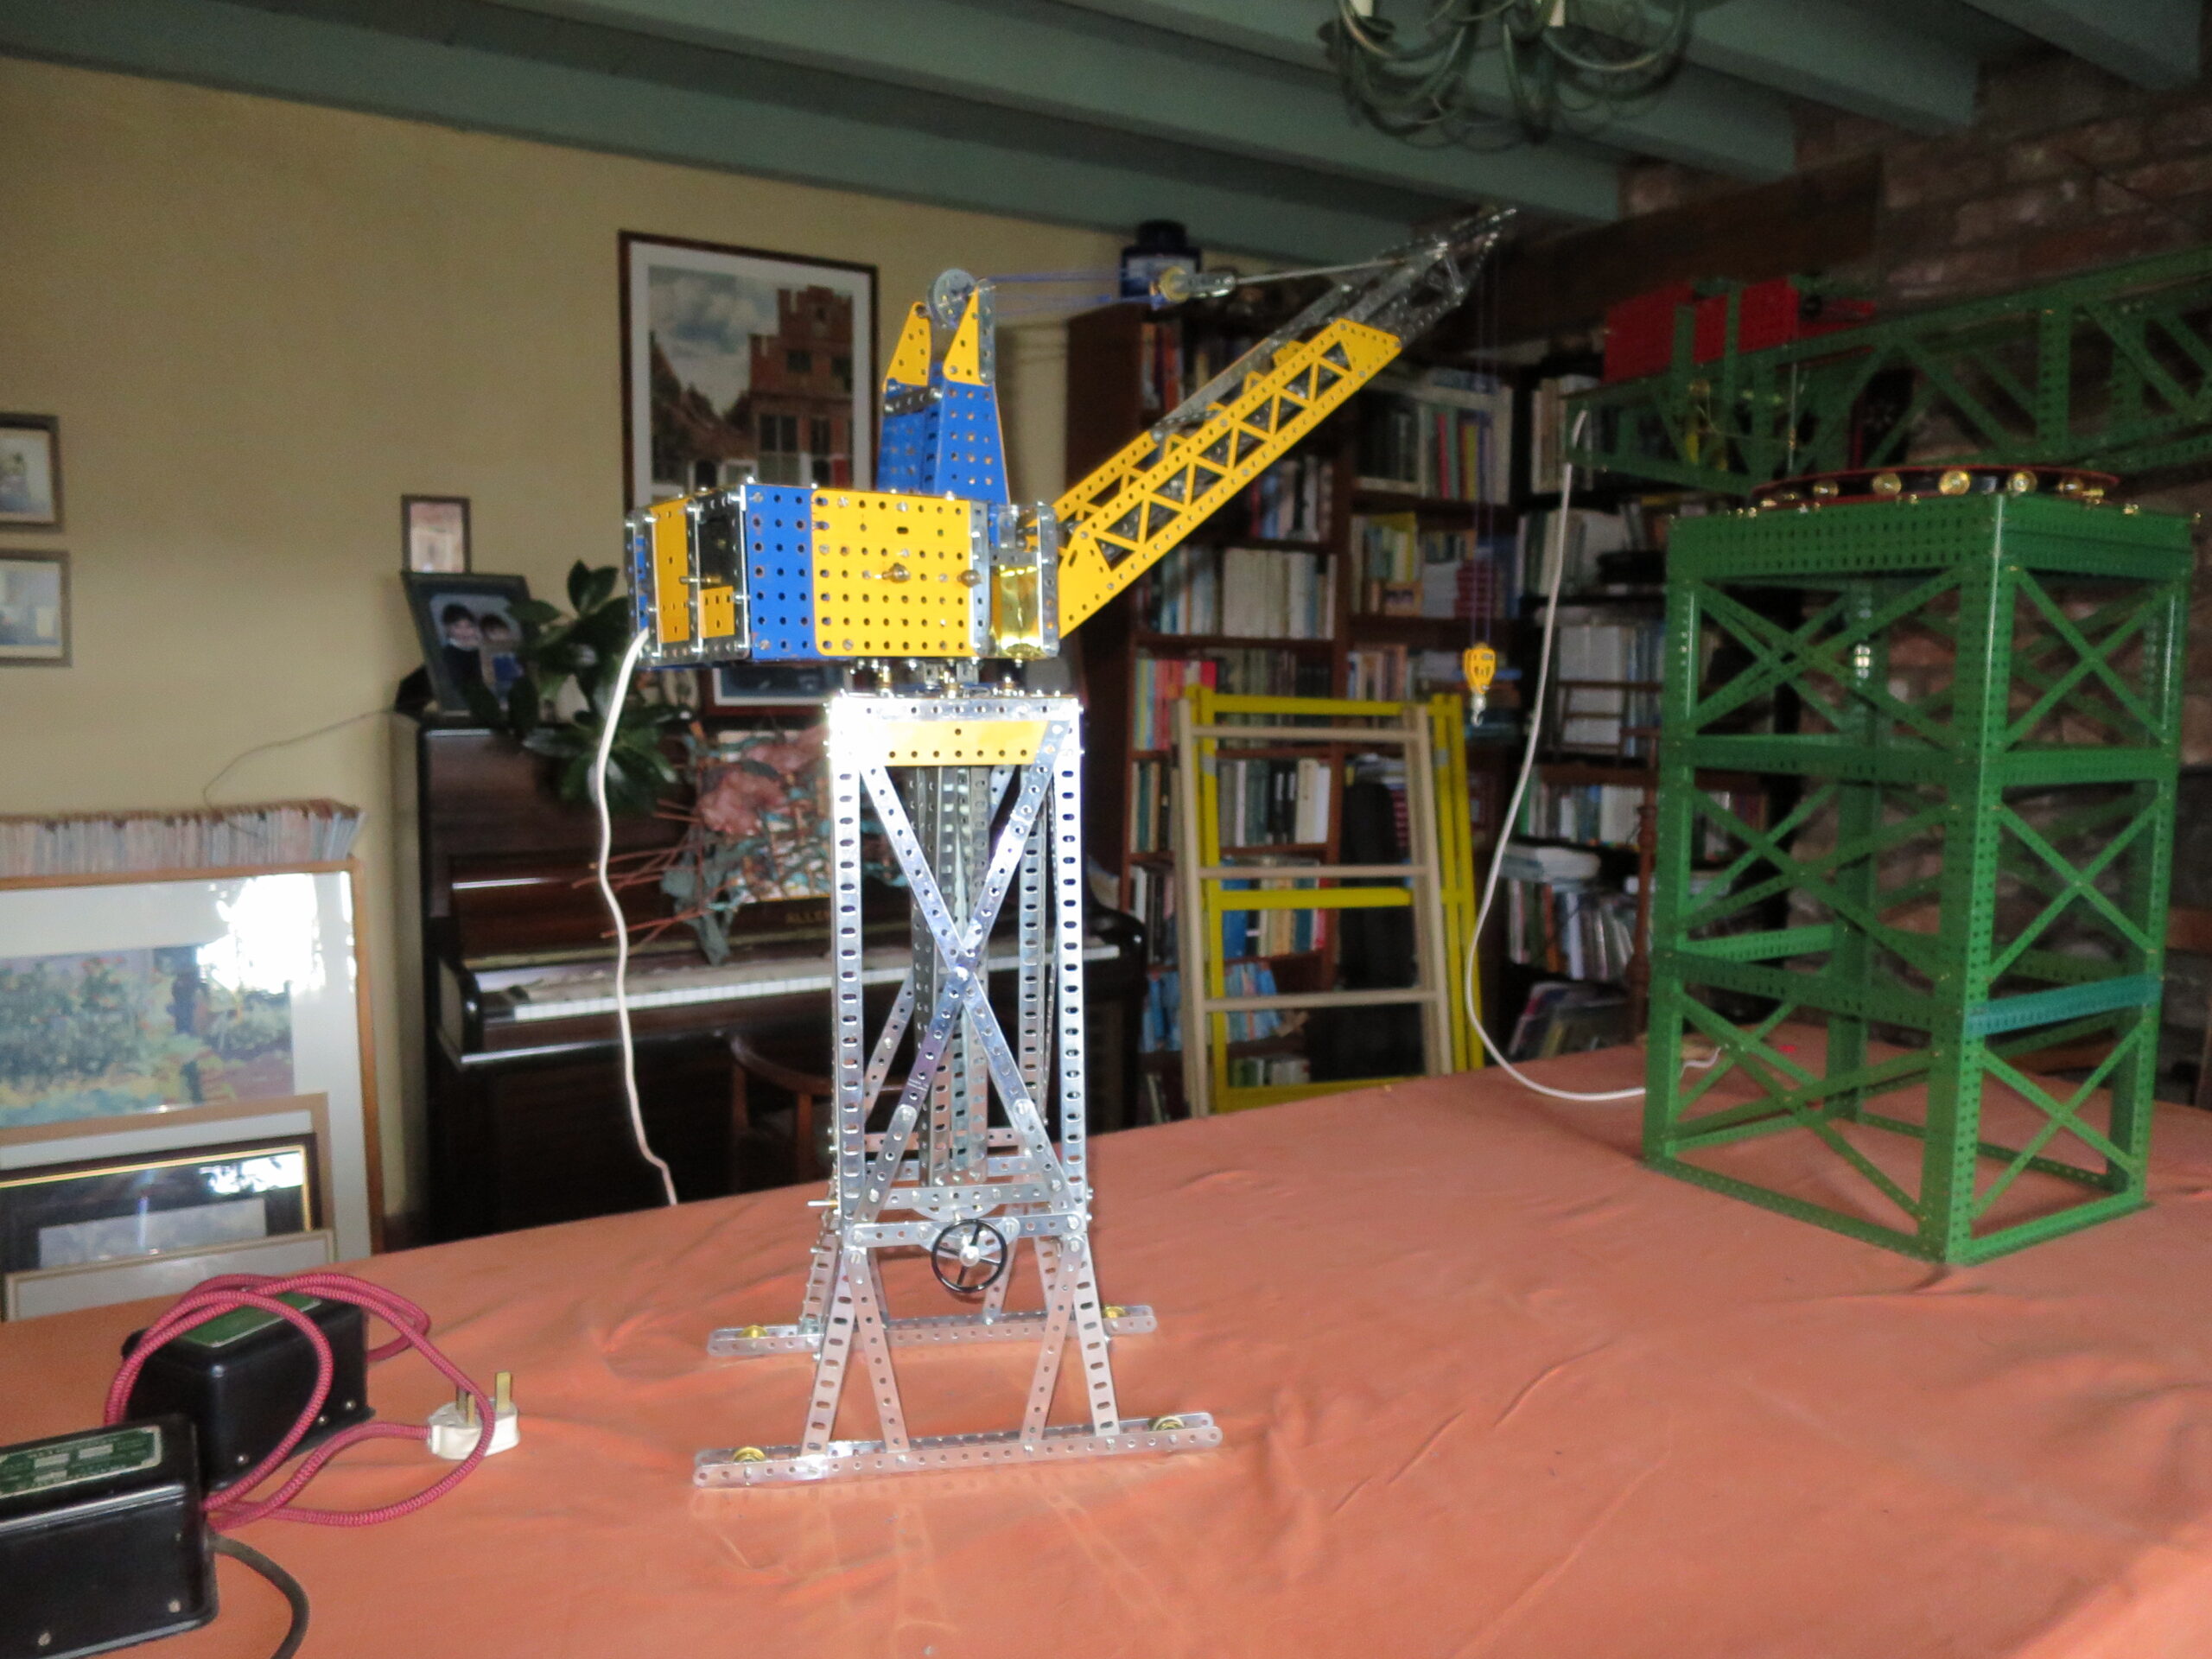
Meccano parts lists often aren’t accurate – I’m starting to get that now. This time there was a crucial mistake in the text too. ‘Each of the lower girders 3, on which the carriage 30 (Fig. 1) travels, consists of one 24.5″, one 12.5″, and one 9.5″ Angle Girders bolted to Braced Girders 4’ doesn’t work, as the composite girder needs to be 49.5″ long. This took me quite a bit of puzzling out, but I ended up using 3 overlapped 18.5″ girders instead. The carriage kept jumping off its girders, so I replaced the flanged wheels with 1″ pulleys fitted with rubber rings, which worked a lot better. The crank handle used in the mechanism to flip-flop the reversing action fouled the string bracing, so I replaced it with an alternative slimmer solution built from couplings, threaded pins, a 1.5″ strip and a 1″ rod. Those were the main tweaks. The string bracing took some time, but I found it curiously satisfying to do. This build was when I found out that Meccano cranks often aren’t up to the job – the boss often rotates, making them useless as a lever.

Having said all that, I really enjoyed the build, including the challenges. The finished model looked great, occupying the whole of our dining room table. And yes it really did go backward and forwards repeatedly on automatic, including a pause each time to allow for loading and unloading. Eventually.

Meccano Eiffel Tower

This was the first model I built with my No. 10 outfit. It was built in a hurry as I had a deadline to get it finished by Christmas 2022. We were going away for Christmas for a change, so the Christmas tree would be at the cottage we were staying in. So how to decorate the house before we went? Answer: a red and green Eiffel Tower in the corner of our living room, covered in tinsel and baubles. Apologies for the quality of the photos: time was pressing!

Build notes

Getting the geometry of the cross-bracing right was a bit tricky, but I got there in the end. The lower lift (elevator) didn’t work properly as the original design wasn’t good enough (imho). So I tweaked it a bit to reduce friction, and it worked reasonably well then. If I’d had more time I’d have tweaked it a bit more, but Christmas was pressing! This was a pretty good model to build, and at over 7 ft high looked impressive in the corner of the room.