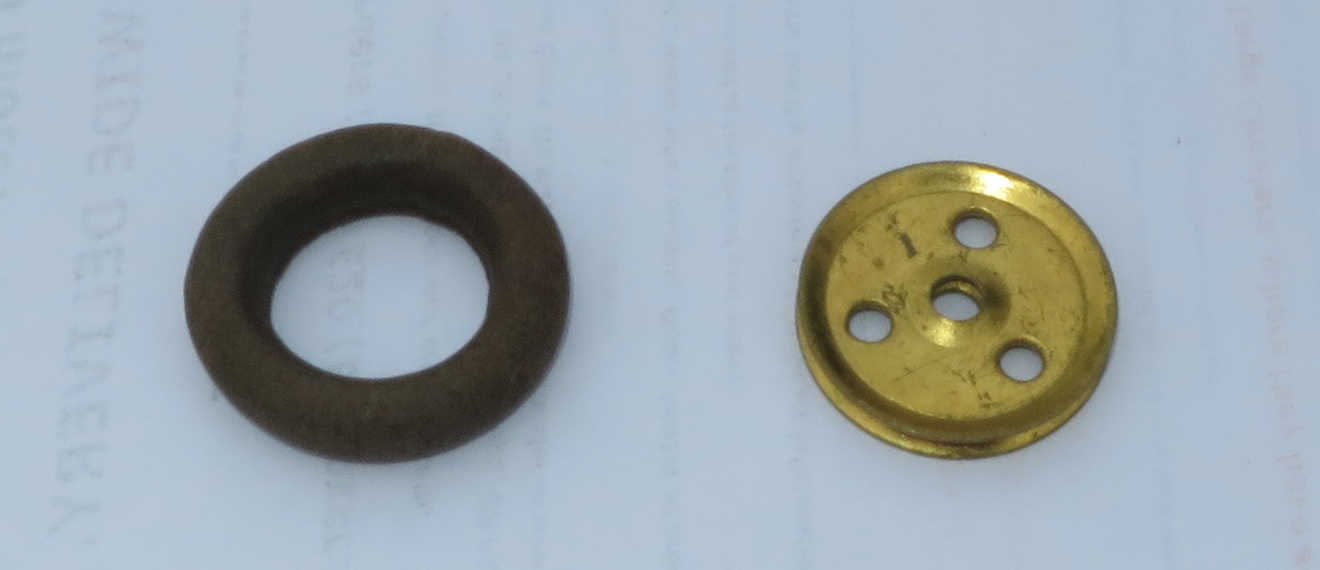
Part 155 – Rubber ring, 5/8″

In the 1929 No. 7 outfit there was a single squashy rubber ring included, with part number 155. It appears to have been intended solely for building the clutch mechanism for Super Model 1 – the New Meccano Motor Chassis. The 5/8″ is a bit misleading, as the external diameter was greater than this, but it’s not the same part as the thinner and harder 1″ ring introduced in 1937 for use as a tyre on a 1″ pulley. The latter part was initially numbered 155a, but was renumbered 155 later, once the original 155 had disappeared from the catalogues and outfits.

If you’re building the Super Models, you need to know that it’s this old part you should be using: 1 for either version of the Motor Chassis (1 and 1a), and 2 for the New Loom (16a). However, as far as I can see, it’s probably only the later version of the Motor Chassis (1a) that really needs it. In the earlier Motor Chassis, the ring is fitted over a 1″ pulley, so a later 155 ring would probably do the job (I haven’t built this clutch so can’t be absolutely sure). The later model uses the ring as a loose fit over a 1/2″ pulley, pushing it against a 7/8″ bevel gear for friction, so the later 155 ring won’t do the job – you’d have to do a bit of redesign. As far as the loom is concerned, the later part 155 works fine.

I thought I didn’t have any of these, but I just thought I’d check through a box of what I thought were non-Meccano bits that were in a box of assorted parts I bought alongside my No. 10 outfit. Lo and behold I appear to have one. It’s old and a bit perished, but it ought to survive being built into a Motor Chassis 1a clutch at some future date. The photo shows it next to a 1″ pulley for scale.

Part 142 – Rubber ring 3″ diameter

Updated May 2026

These were the very first Meccano tyres. Their first appearance looks to have been in a revised version of the Meccano Motor Chassis leaflet in 1921: the tyres in the illustrations look identical to part 142, but no such Meccano part had been announced at this point. These leaflets predate the main Super Model series, and the model is not the same as the later Super Model no. 1. The same 1921 chassis and tyres featured in Meccano Magazine, in the September and October 1923 issues, and again in the February 1924 issue, which featured a limousine body based on the same chassis. Two months later there was a tiny announcement printed in the April 1924 MM issue that finally mentioned that part 142 was available. They also appeared listed in the available parts in the 1924 Meccano manual.

These rings pre-date the better-known 3″ tyres by about four years. There were 4 in the largest 1926 outfit (No. 7), but in 1928 the Dunlop tyres effectively replaced them. Three rings were retained in the No.7 outfit and its successor L outfit though, so that you could build Super Model no.3: Motor-cycle and Sidecar. When the new No. 10 outfit appeared in 1937 they were gone, and they never reappeared after the war. I imagine they were retained purely because the new tyres were too bulky for the design of Super Model 3. The blueprint diagram shows they were 3 1/8″ external diameter, 2 1/2″ internal diameter, made of circular cross-section vulcanised rubber with a diameter of 5/16″. They were either white or off-white.

I wanted to build the motor-cycle model so I needed three of these rings. Originals are next to impossible to find, so I looked around to source something similar. Luckily there were Nitrile Rubber O-rings the same size available on Amazon, although they are black. They cost a bit as they are shipped from China, but they are the right size. The ones I’d recommend are 85mm x 69mm x 8mm. I bought one with 80mm external diameter first, but it was difficult to get onto a 3″ pulley. The 85mm rings are a good secure fit. Next I painted them with three coats of Humbrol matt cream acrylic paint. I went for cream rather than white as old rubber is not going to be white for long, and cream seemed more appropriate for a vintage look with red/green Meccano. They look good. Stretching them onto pulleys resulted in a little damage, but that touched up pretty well, and they aren’t coming off again as I’ve got plenty of pulleys.

I’m now planning to build the Meccano Limousine featured in MM in February 1924, so I’ve ordered a fourth O-ring. Watch this space – it’s probably going to be my project for Spring 2027.

Part 107 – Table for Designing Machines

…which is a bit of a mouthful. I think it probably means a table for machines that produce designs, i.e. patterns. And not a table that designs machines. That would require a lot more AI than Meccano could deliver..

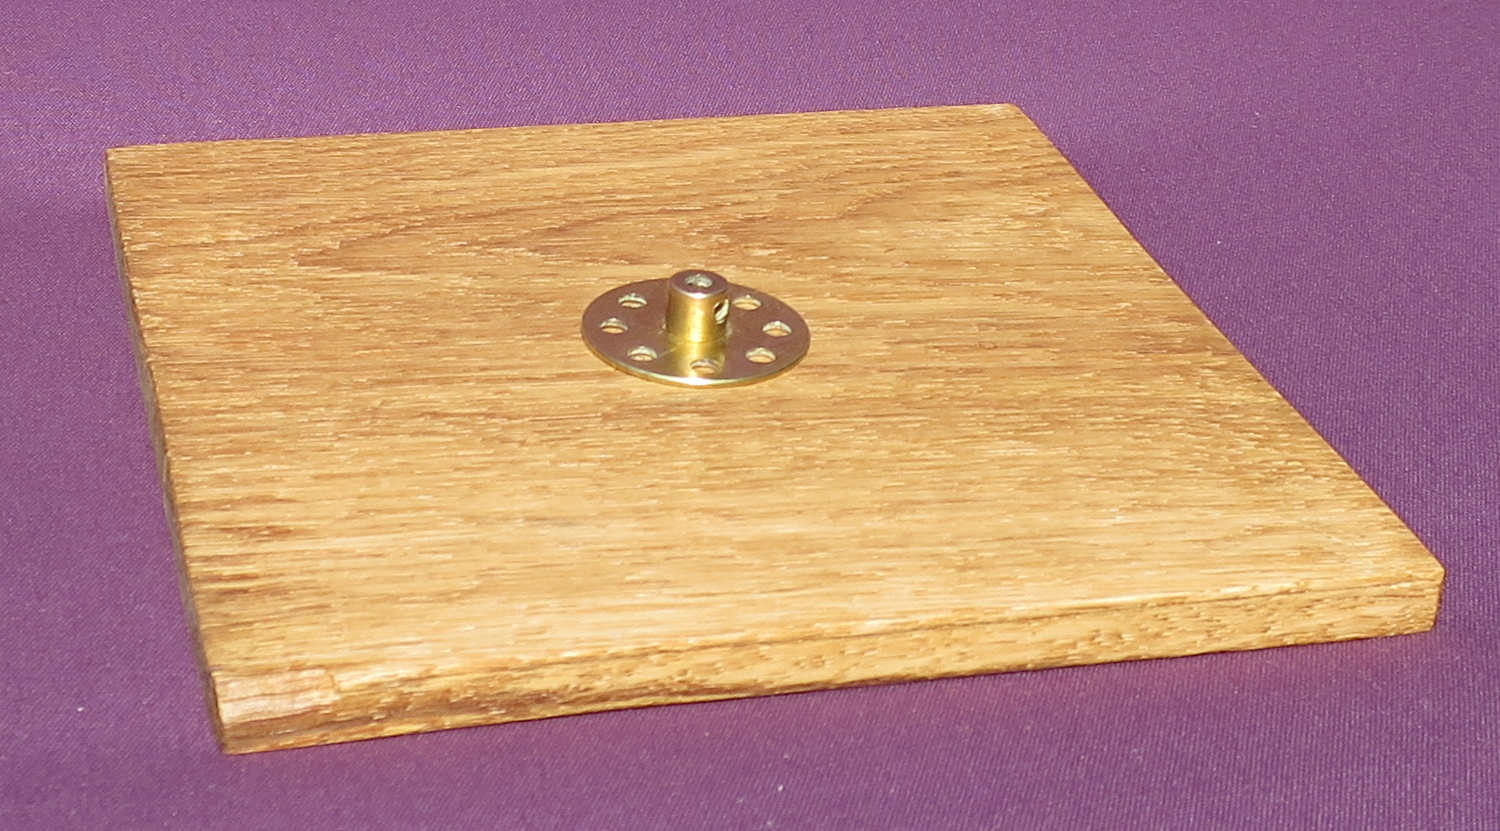
This is one of those parts that is pretty much unavailable anywhere, but that doesn’t really matter, as it’s easy enough to make one with basic woodworking skills. And you’ll need one if you want to make one or both of two of the pre-war Super Models: the Meccanograph (no. 13) and the Harmonograph (no.26). Part 107 first appeared in about 1921, was included in the biggest outfits (7 then L) from 1922 until 1936, was not in the 1937 outfit 10, then never reappeared post-war.

To make one you need a piece of hardwood 6 1/2″ by 6 1/2″ by 5/16″. I made mine from an off-cut of an oak floorboard I had lying around in the garage. I had to plane it down a bit to reduce the thickness. It needs a smooth flat finish. Sand it smooth, stain it if you wish, then oil or wax it with a furniture polish. Screw a bush wheel (part 24) to the centre of the underside of the board with 3 or 4 black round-headed screws. 3/8″ no. 6 screws are about right – just make sure they’re not going to stick out of the top of the board. I made my board 3/8″ thick to be on the safe side. Hardwood really needs 1/16″ guide holes drilling before the screws go in – again be careful not to drill all the way through the wood, practising beforehand if you’ve not done this before. I tape up the drill with electrical insulation tape to mark the right depth. You’ll probably notice there are no screws in mine in the photo – I was waiting for Amazon to deliver the screws!